ODO - 97,476
As reliable as the Honda ST1300 is, there are a few known weaknesses. One of them is the Fuel Pump. Frequently the pump will fail somewhere around 100,000 miles, especially if you ride like Ironbutt riders tend to do, bringing the fuel level down very low, frequently. Pump does not like to be hot. Fortunately, it follows a graceful degradation failure. It will start to buck and lose power, possibly stalling. It will do this until you either let it cool down or fill it up with fuel. It may not do this again for tens of thousands of miles. Eventually it will repeat, and will no longer work correctly, even with a full tank. It is a good idea to replace it as soon as it screws up the first time.
I suspect that one thing that instigates the issue is letting a fairly empty tank get very hot, then taking off, which cools the vapor, creating a vacuum. I think this strains an already old fuel pump. I have no data to back this up, but it fits with my occurrence and descriptions that I have read from other riders.
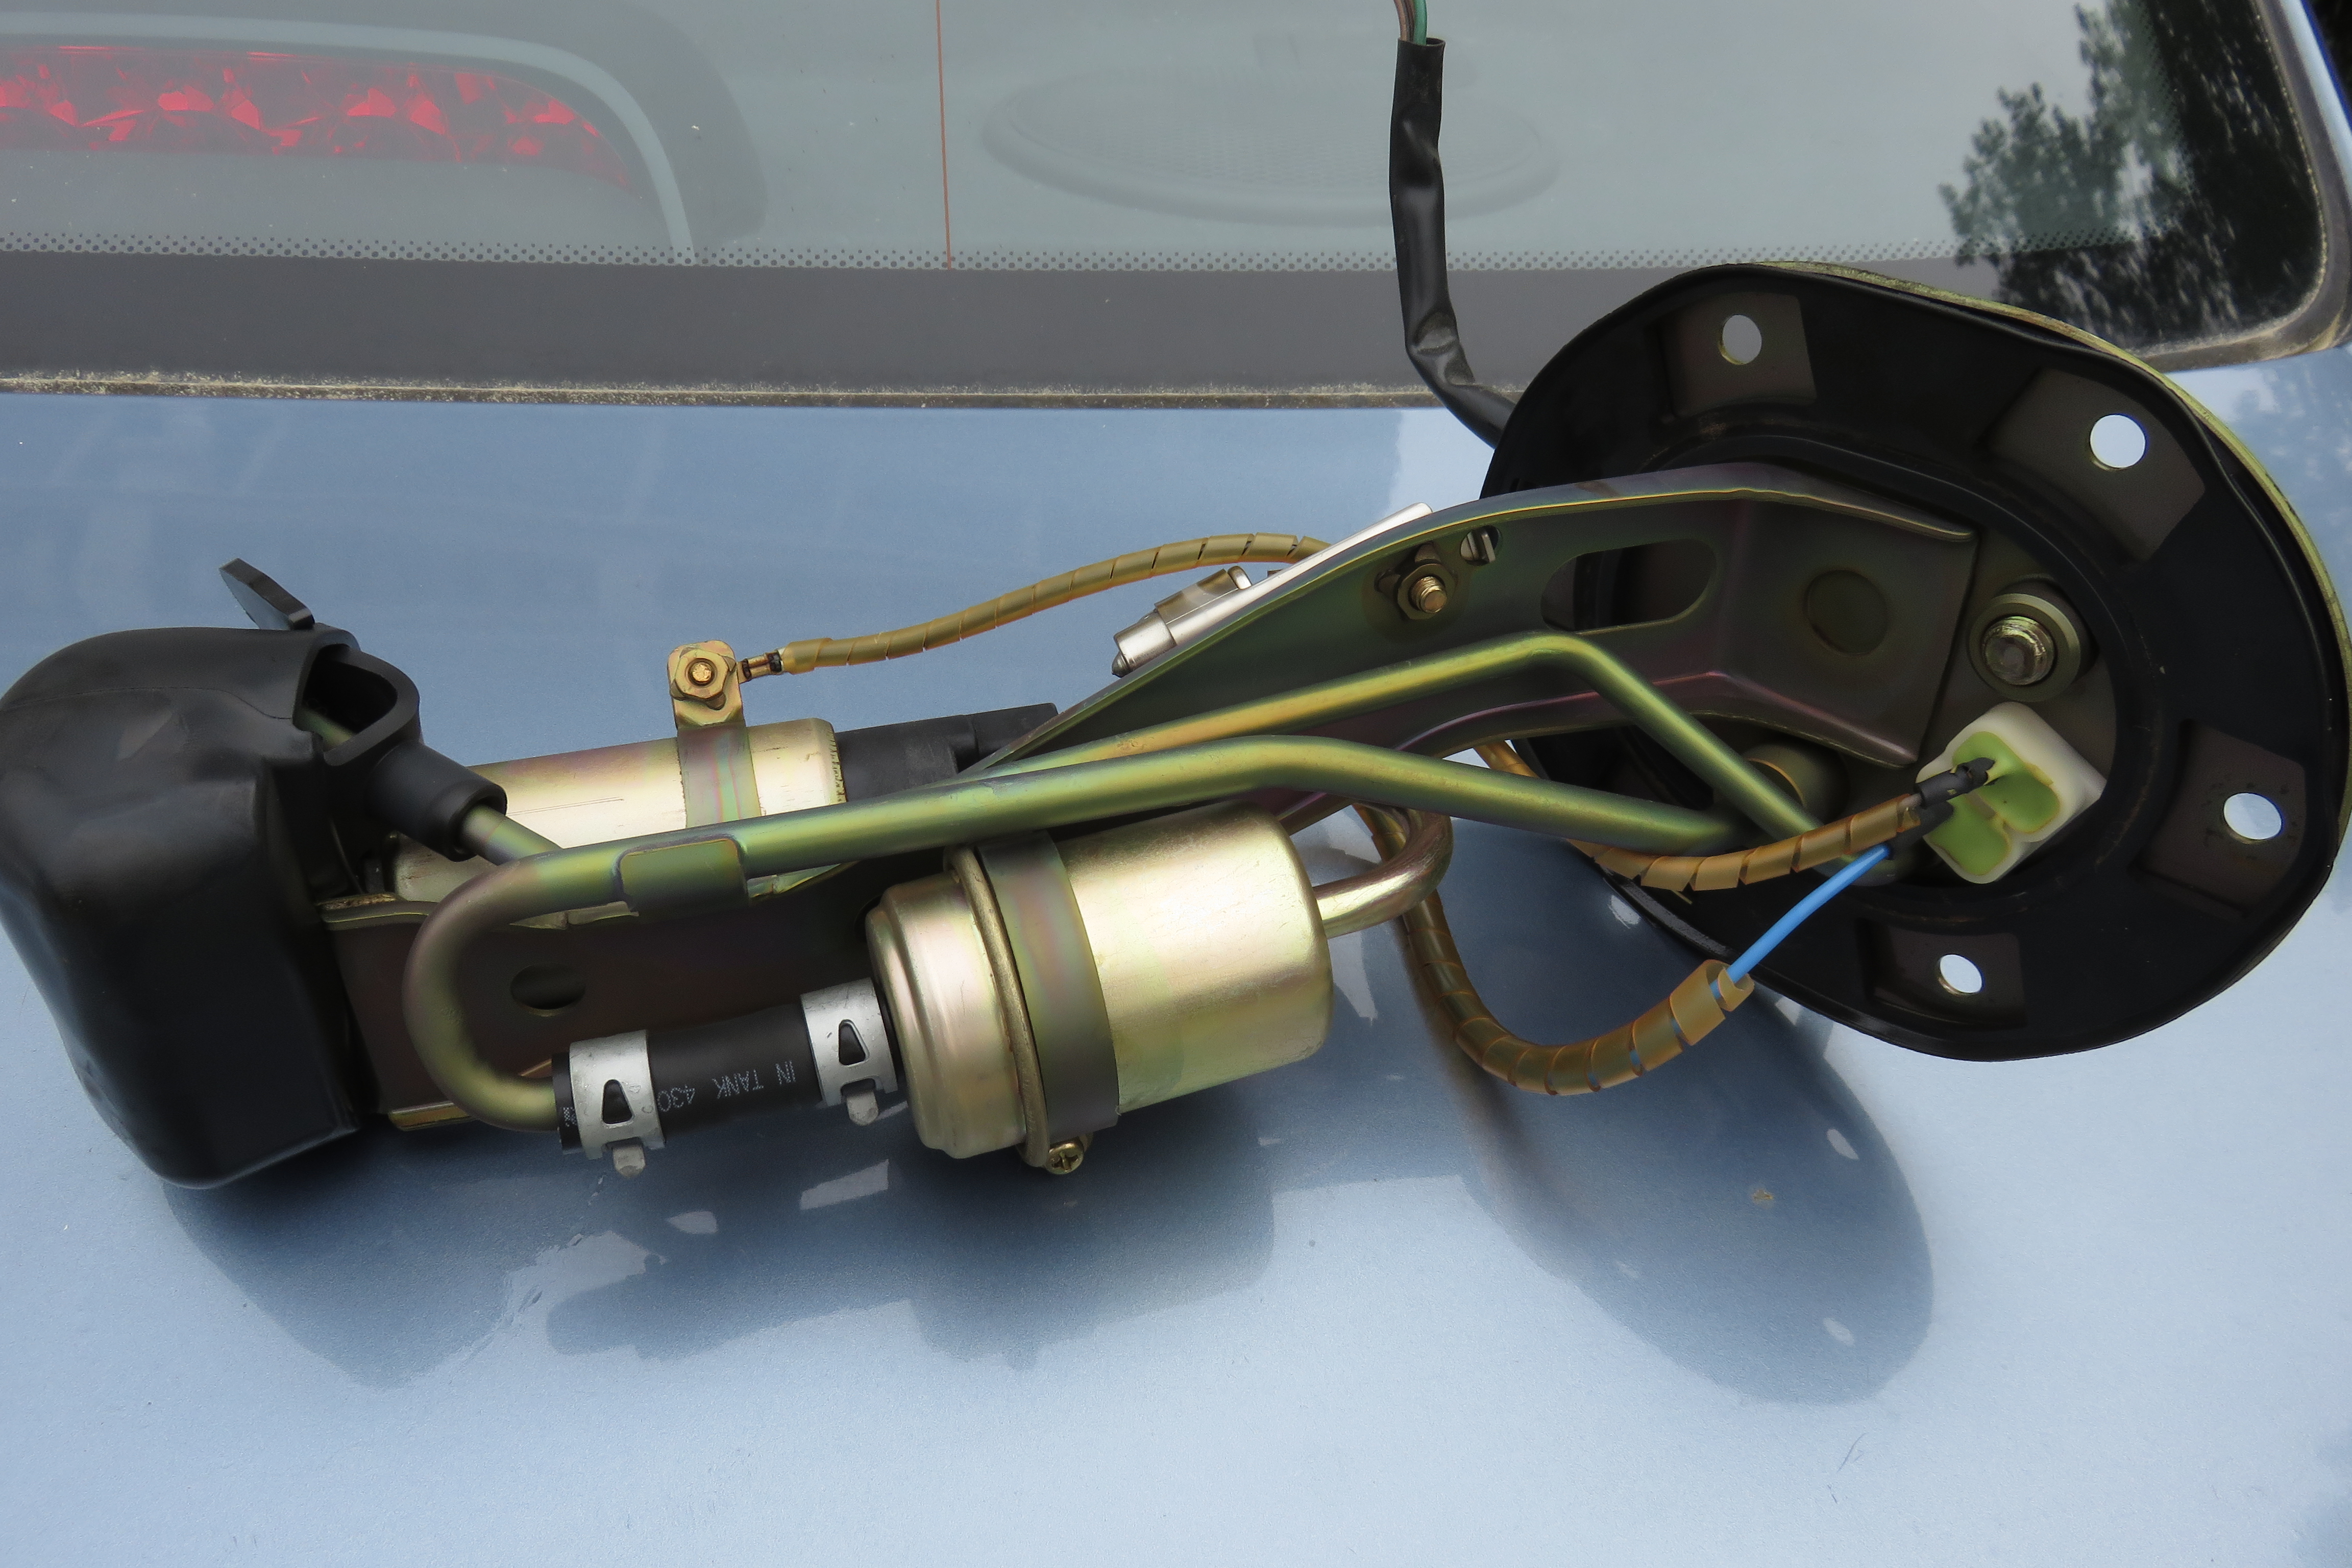
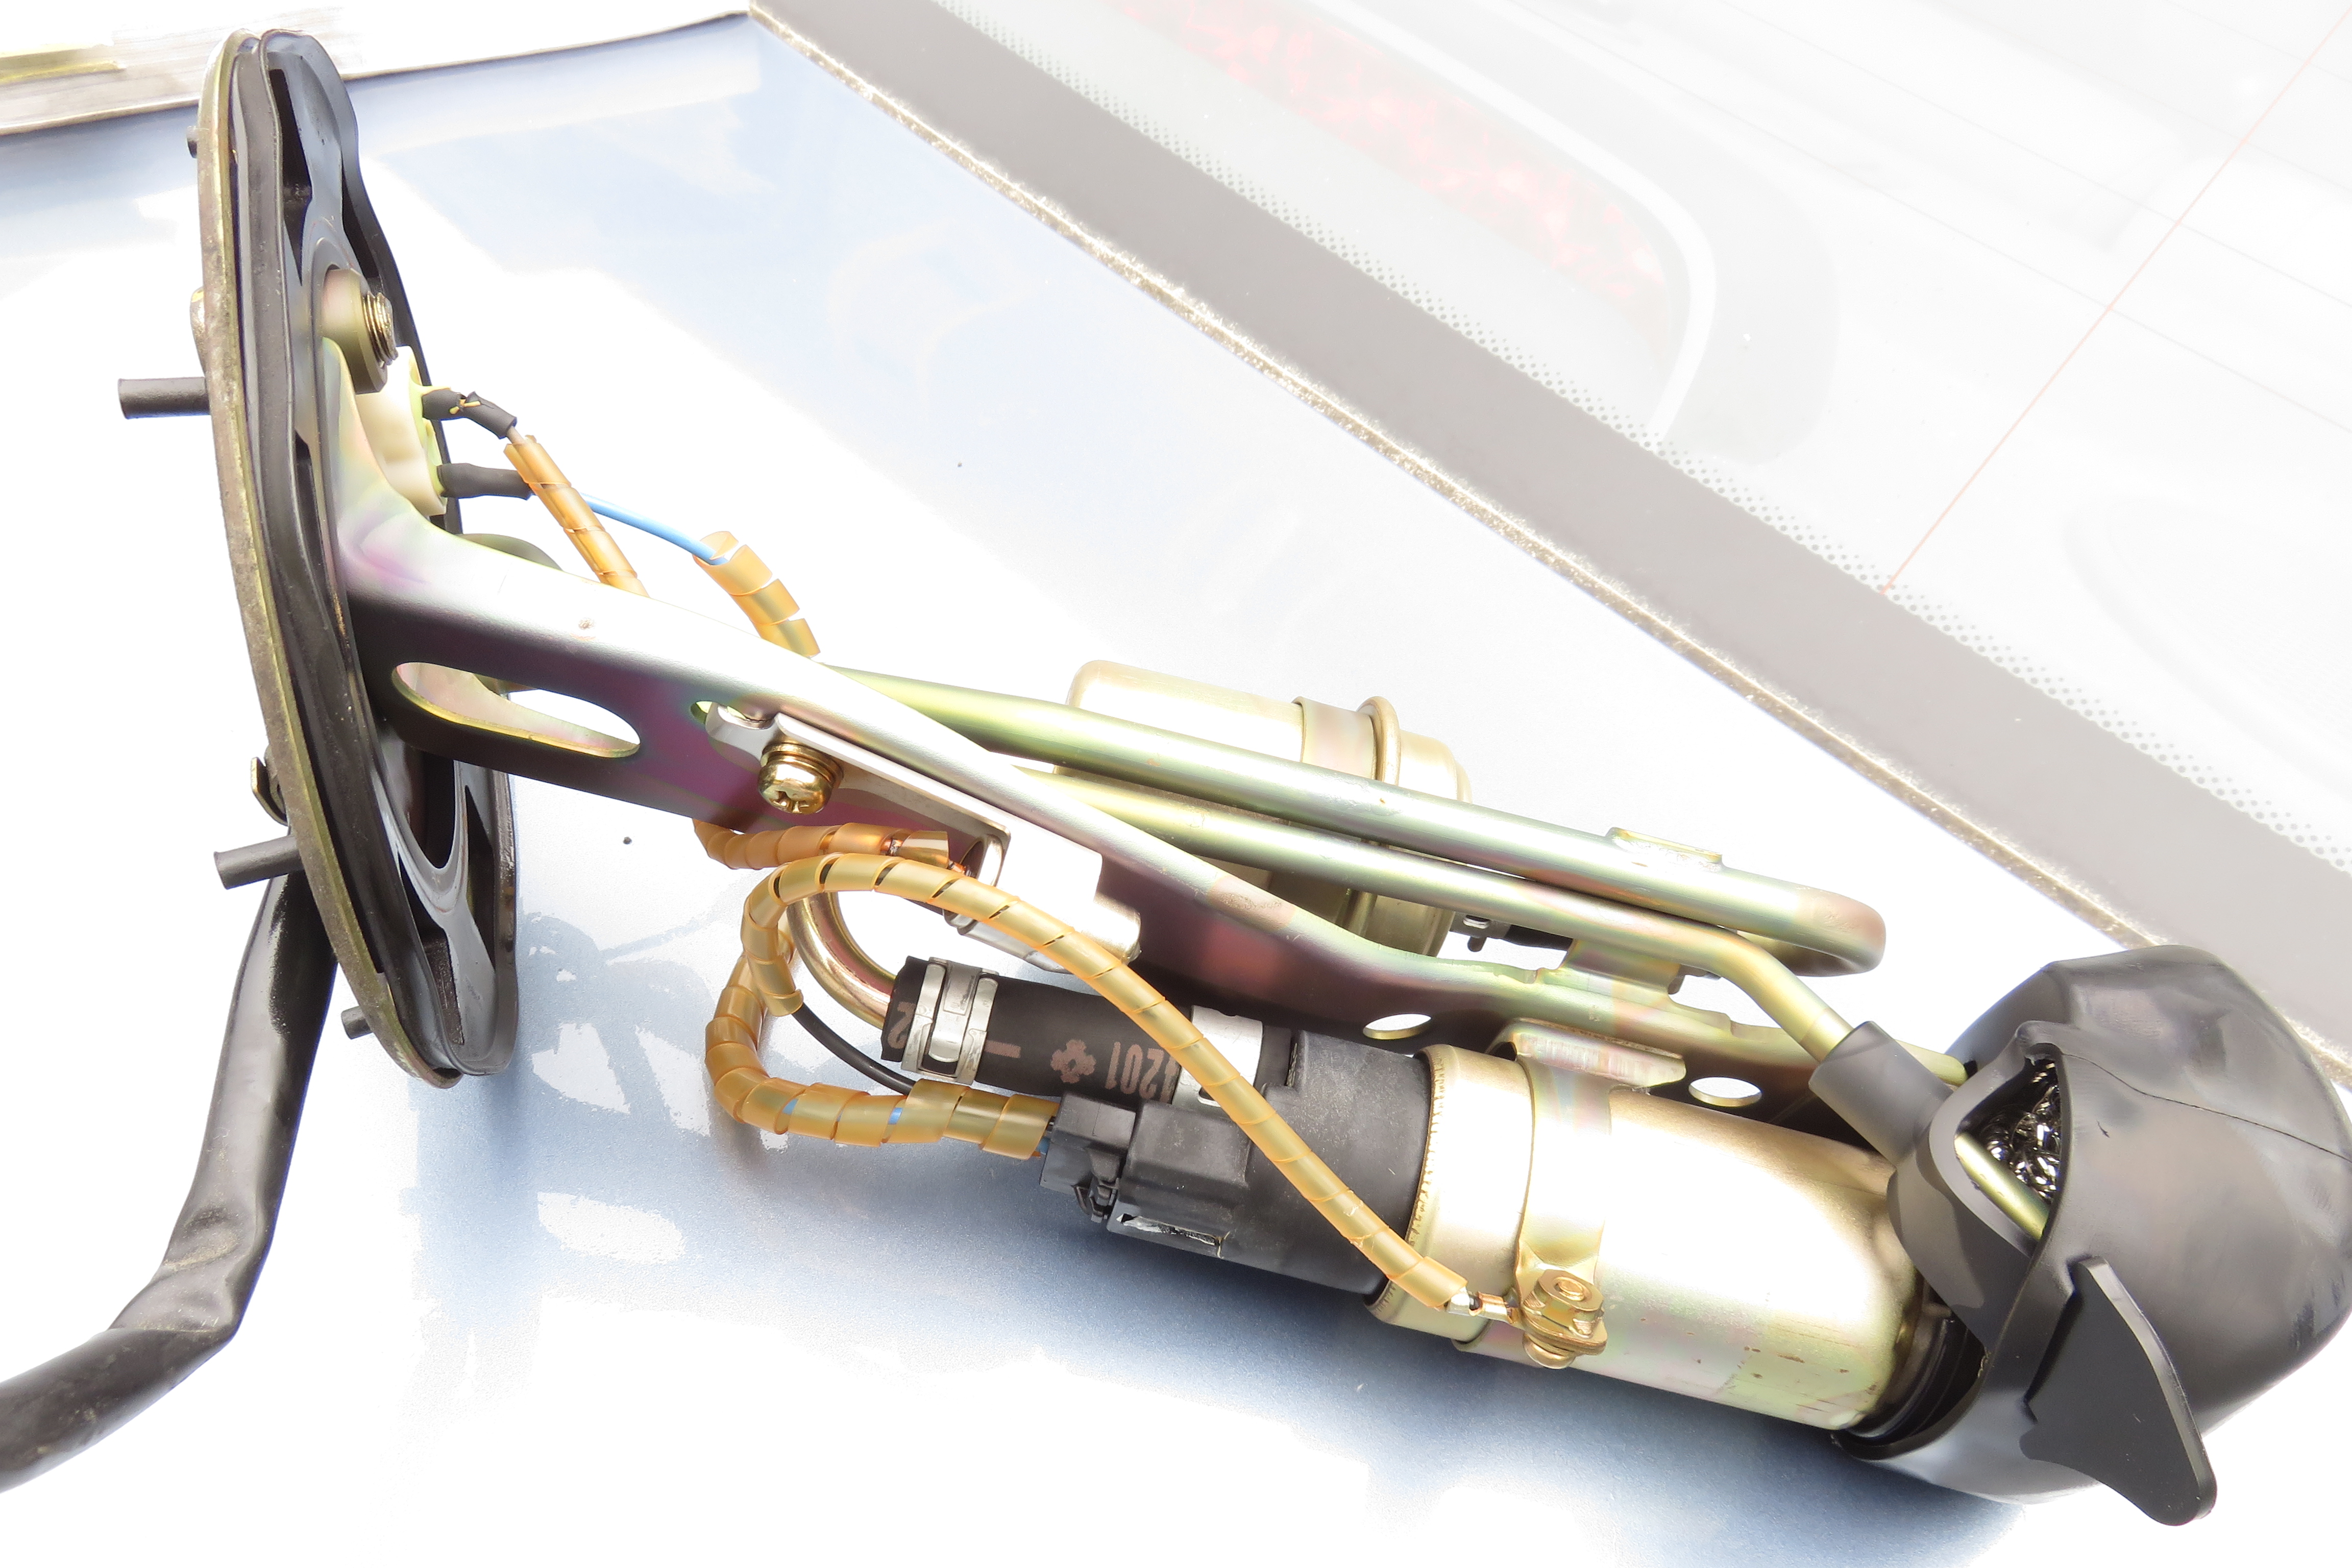
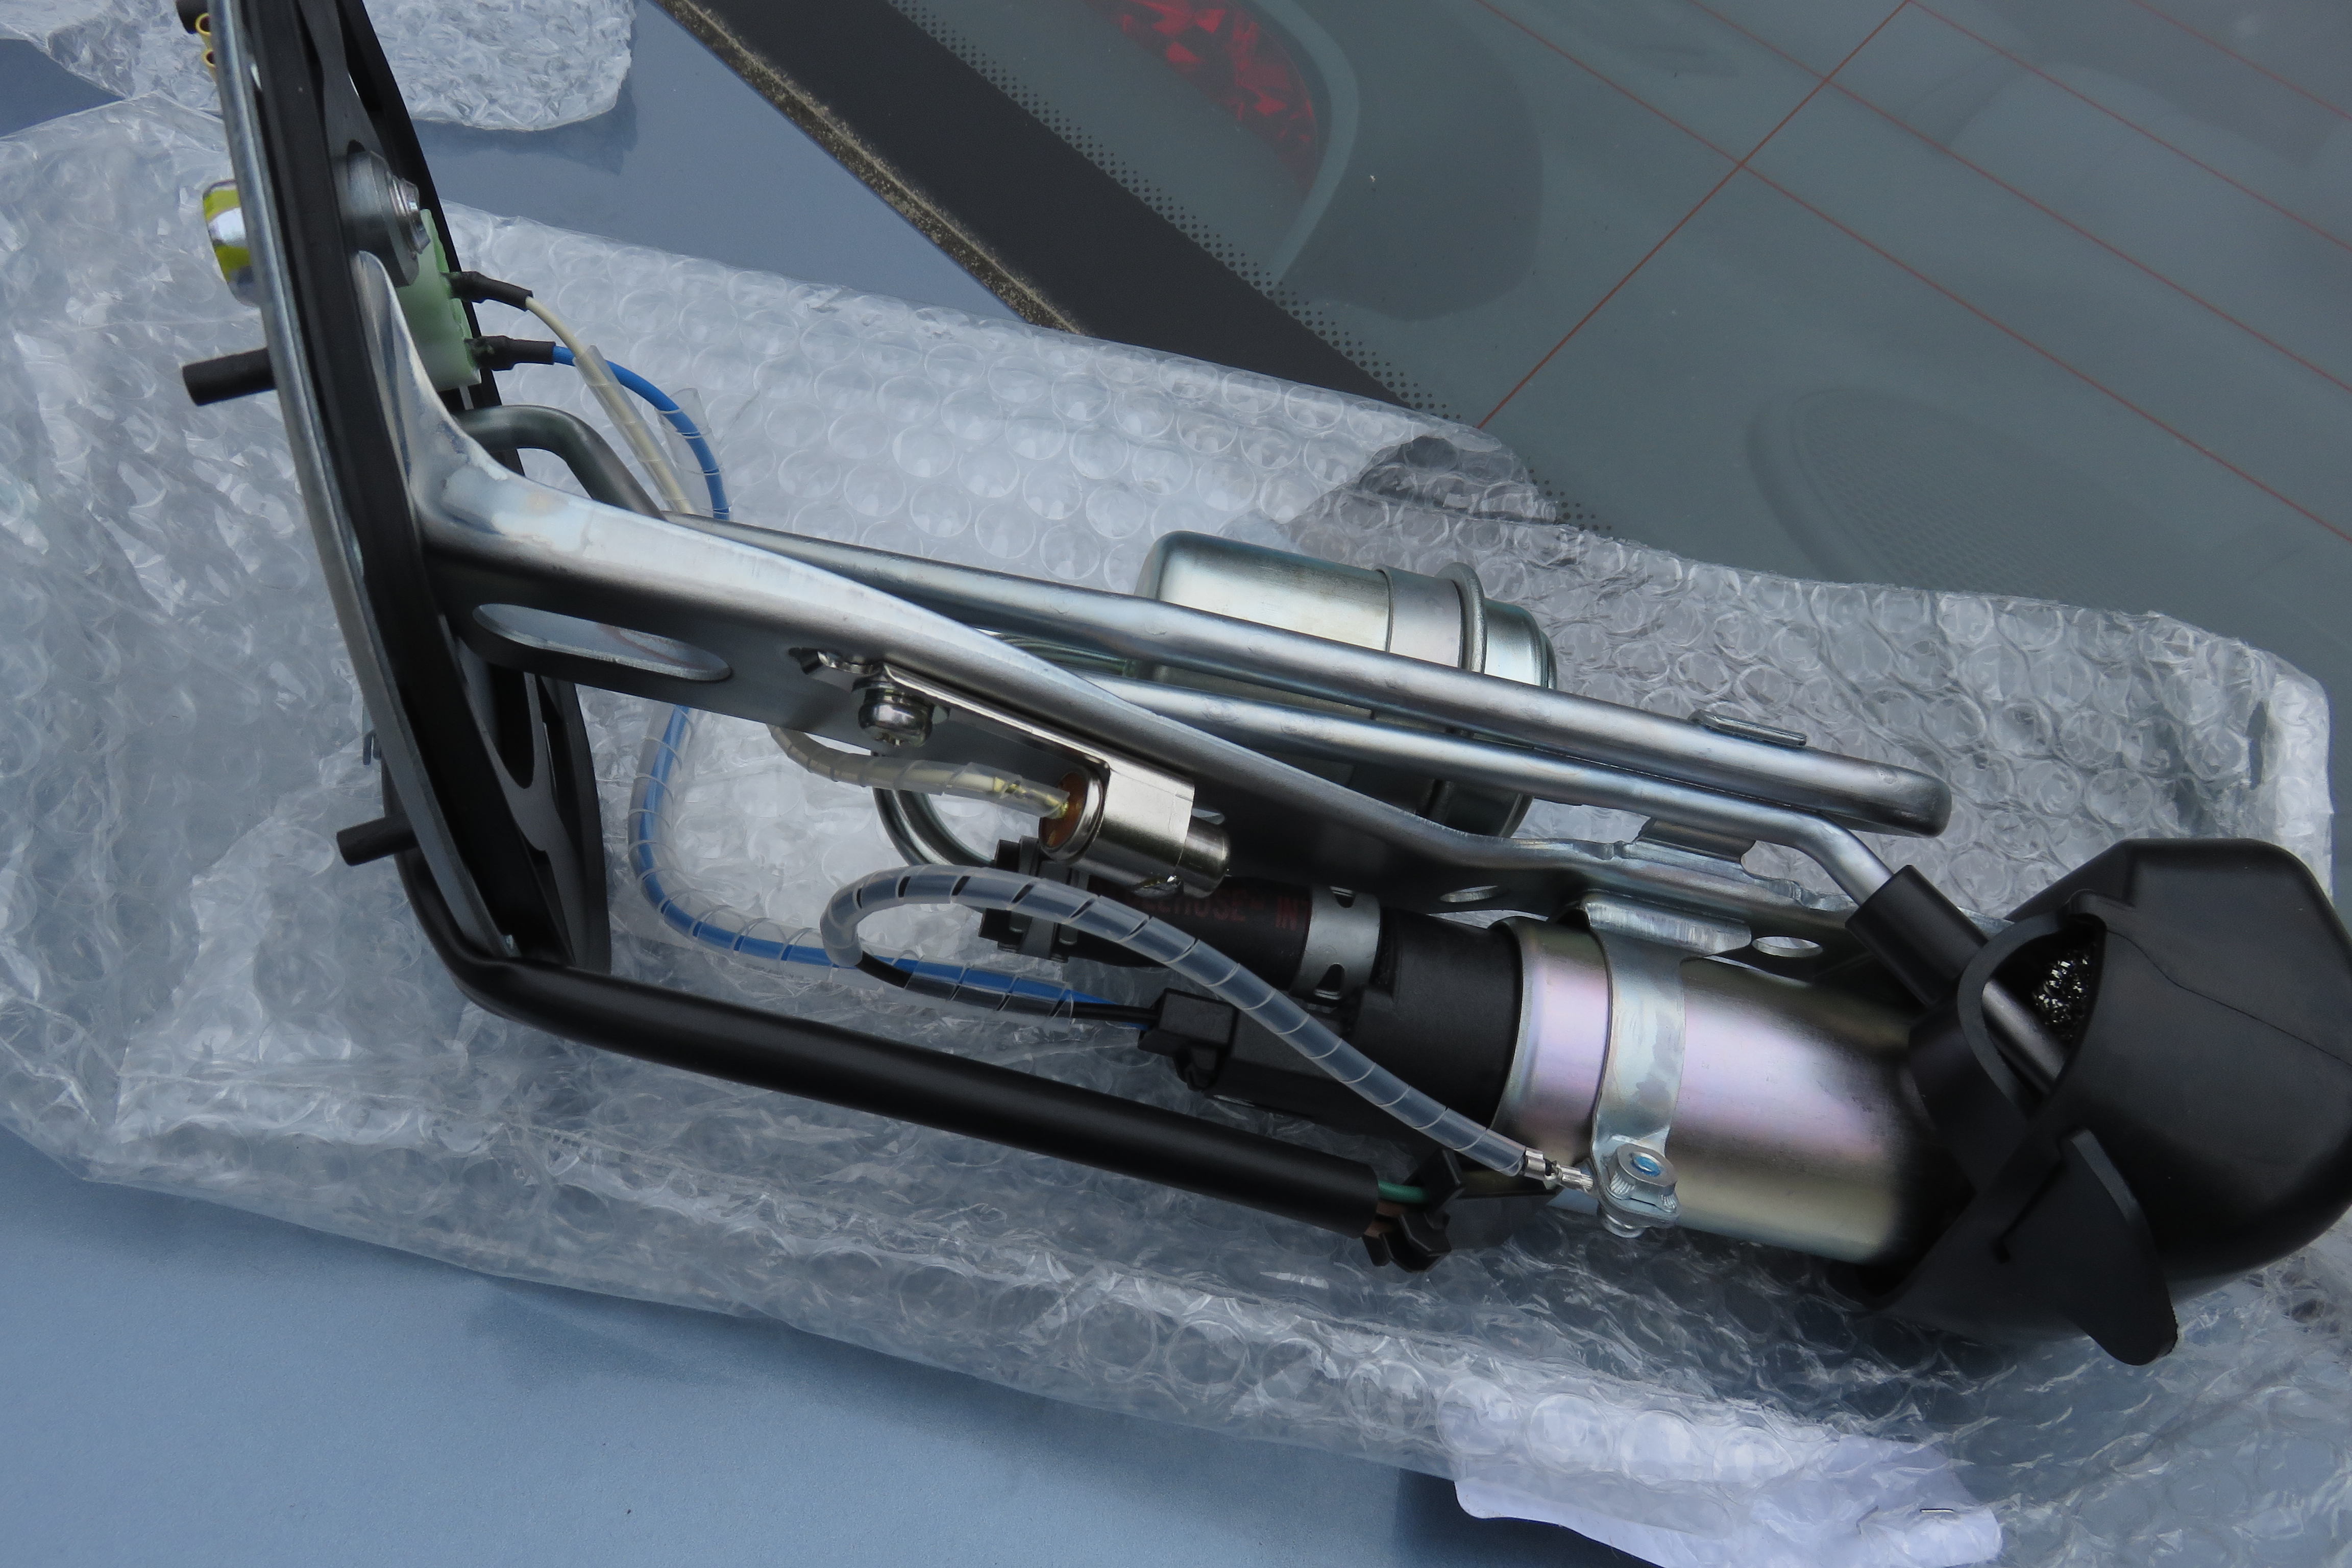
Replacing the pump is easy to do if you buy the fuel pump assembly from Honda. This will cost you $580 at a Honda dealer. It can be found for $380 from places like Bike Bandit.
There is a way to do this cheaper, maybe a lot cheaper. You can buy the pump itself from auto parts stores. These are basically the same as the Honda part, but not made by them. On-line these cost in the area of $70 or $80. You then need a gasket for $15, a fuel filter for $52. If you go to an auto parts store, the pump will probably cost you more, but if you are in a bind, it will be necessary. This shows that for around $150 you can fix the pump saving $230 or more. BUT, you are using an aftermarket pump of unknown quality, you will not have new hoses on the assembly and all the other components in the assembly will be old as well. There is a chance of not doing the swap correctly and causing problems and it will take more of your time to do it this way. If I had to pay full price for the assembly, I would be more likely to buy the parts, but for $230 savings I will do it the "right" way.
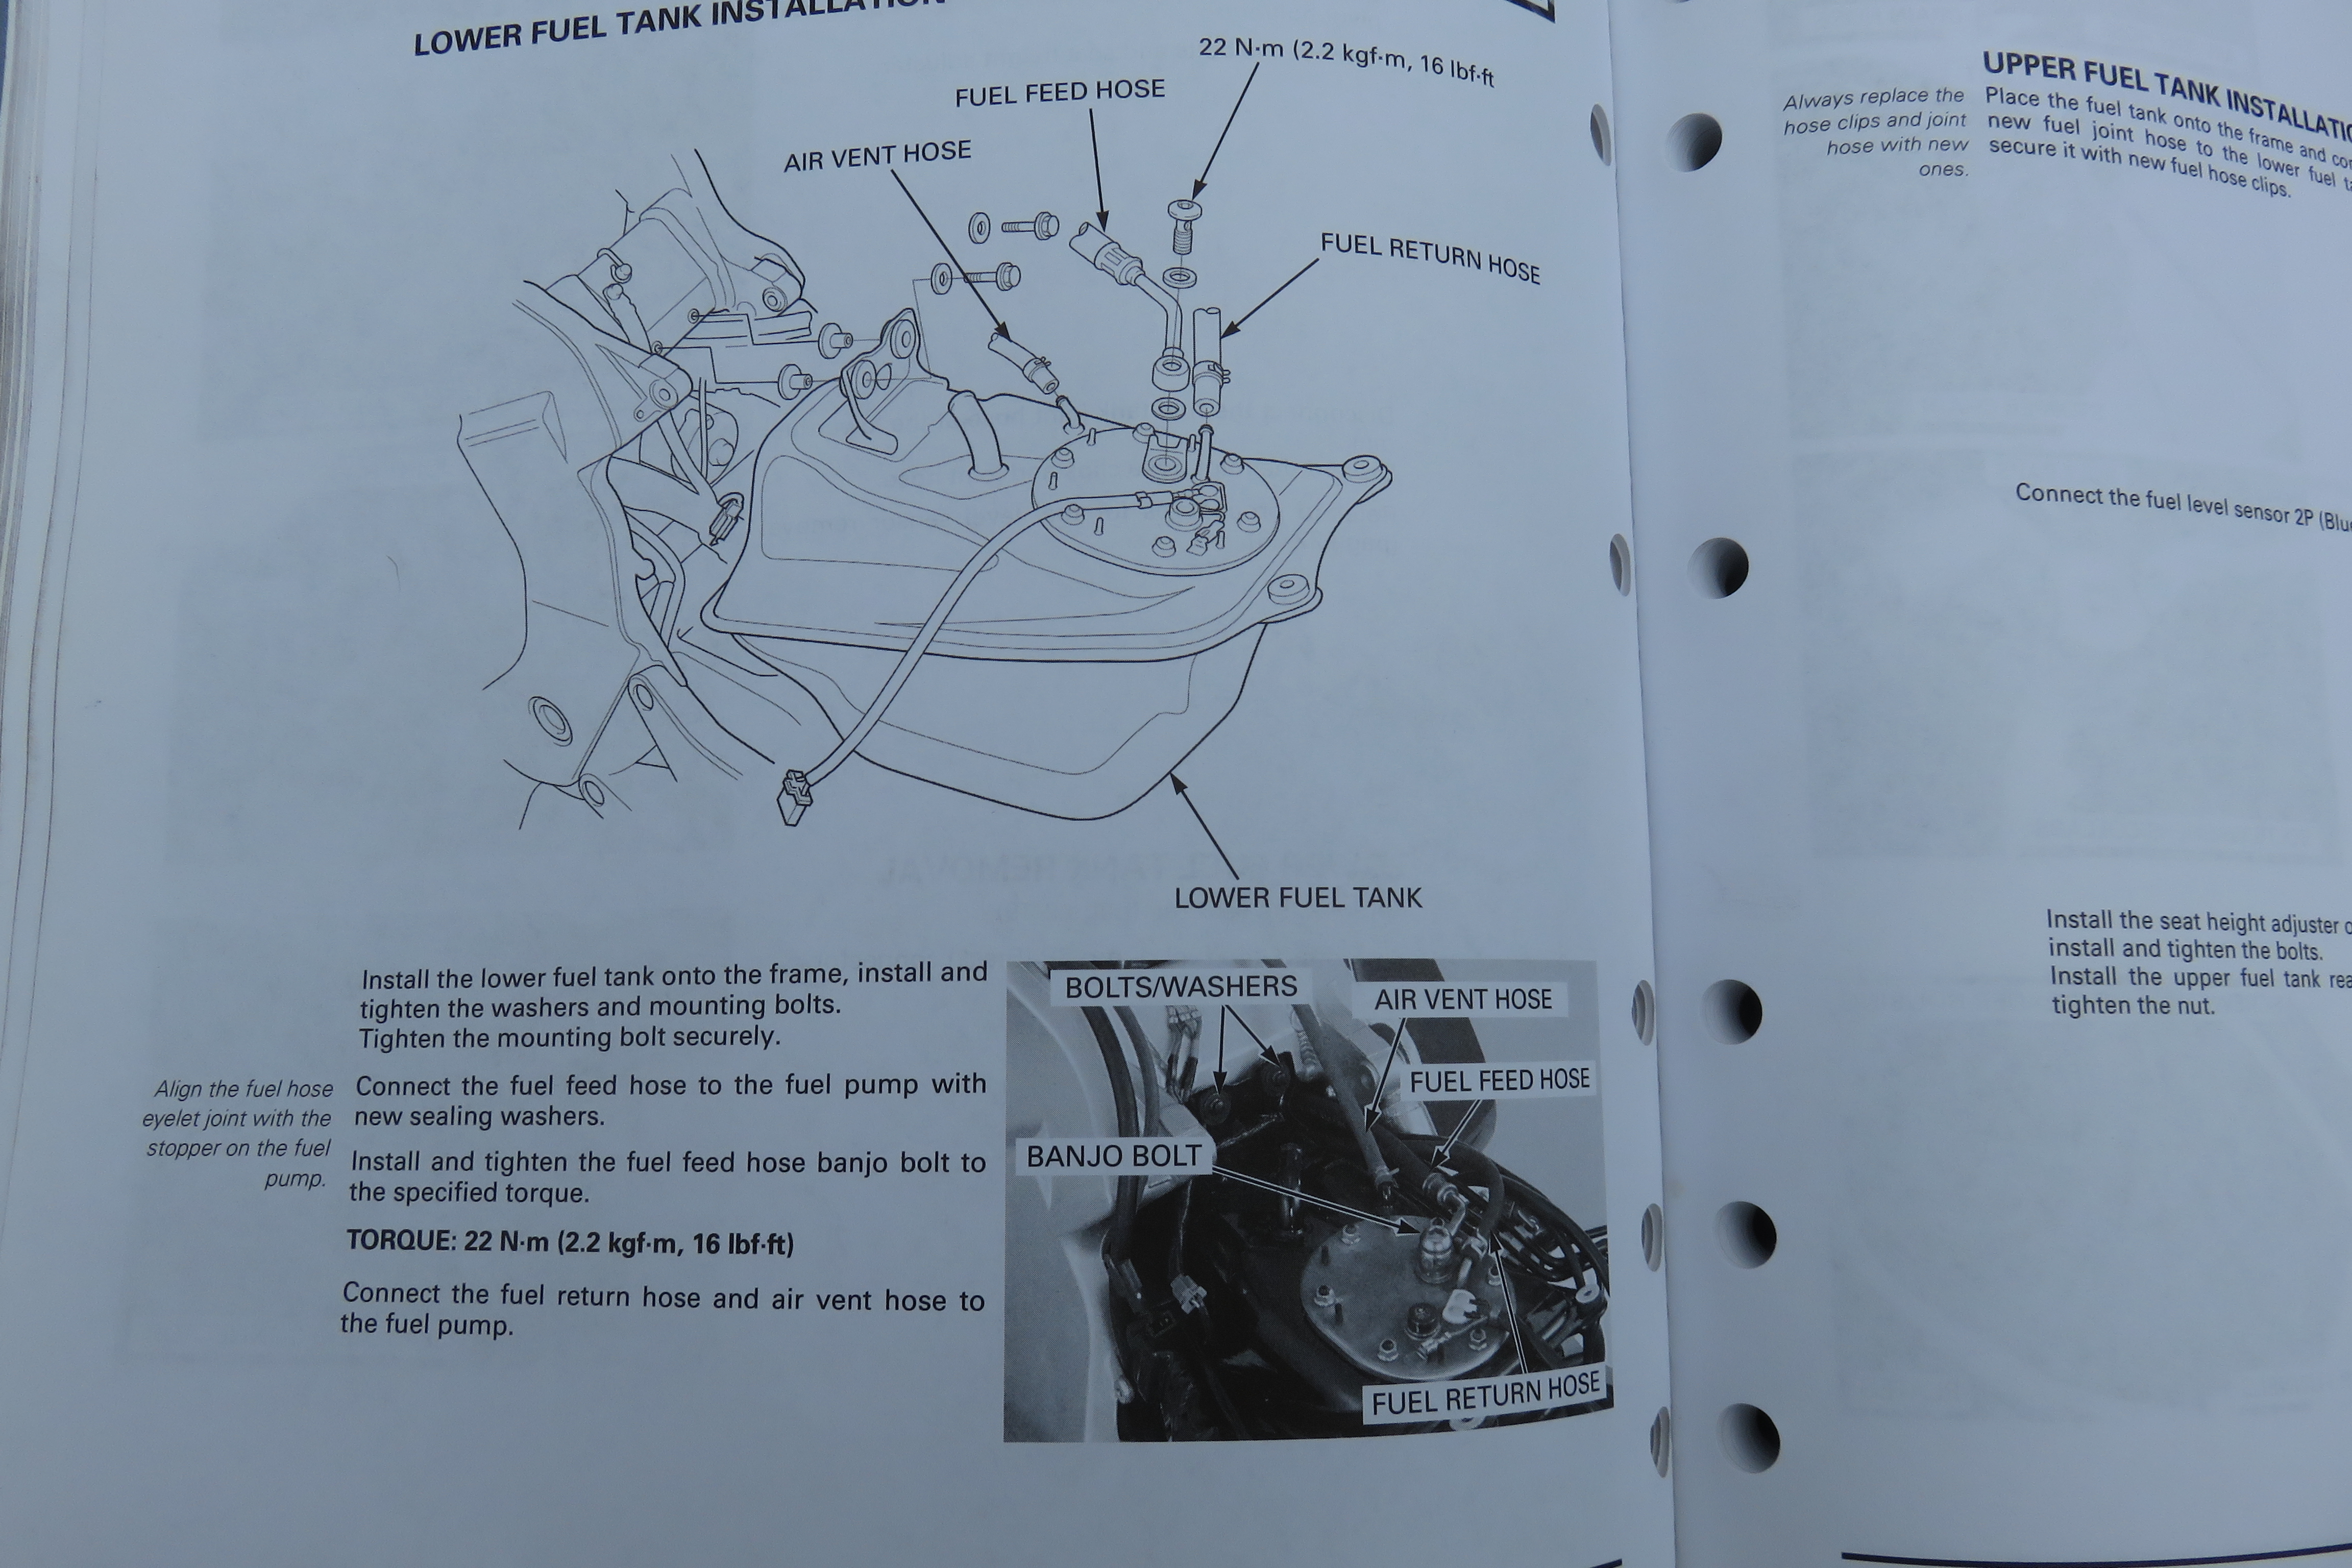
I will not write up how to do the pump only replacement. There are instructions available on-line, but it is fairly intuitive. For replacing the assembly, you should follow the instructions in the repair manual.
The basics for replacing the assembly are:
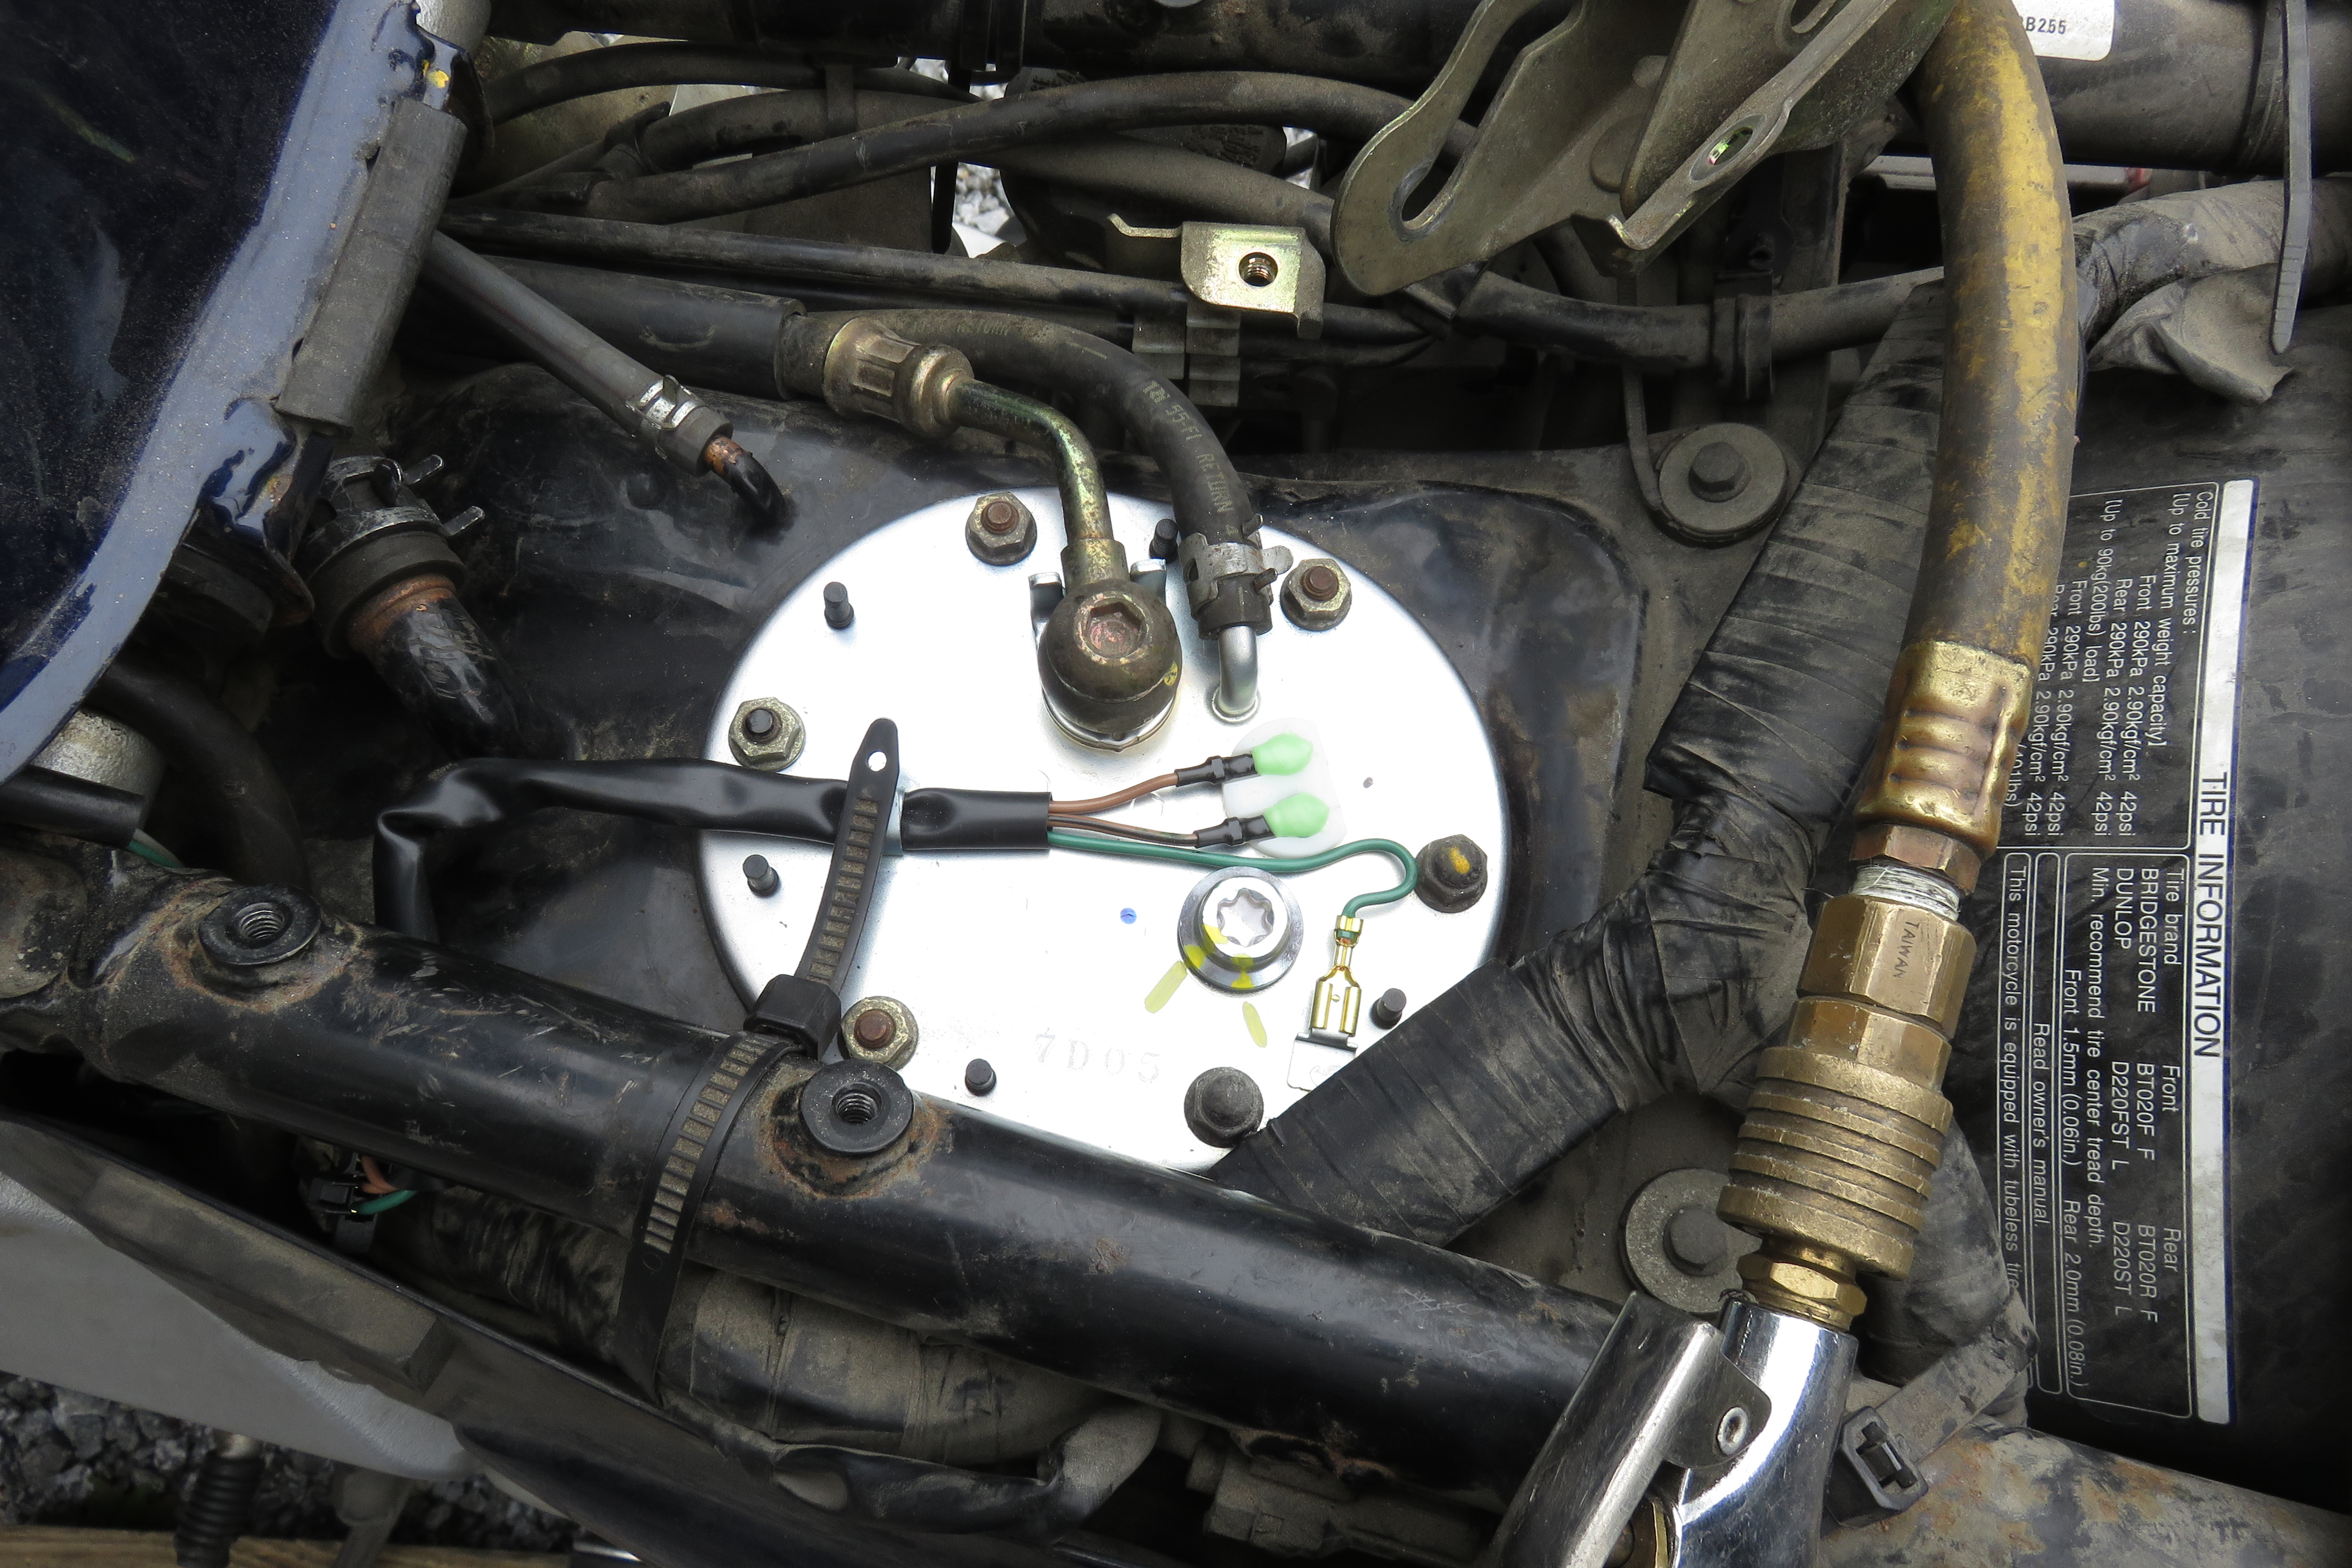
1-Disconnect the battery
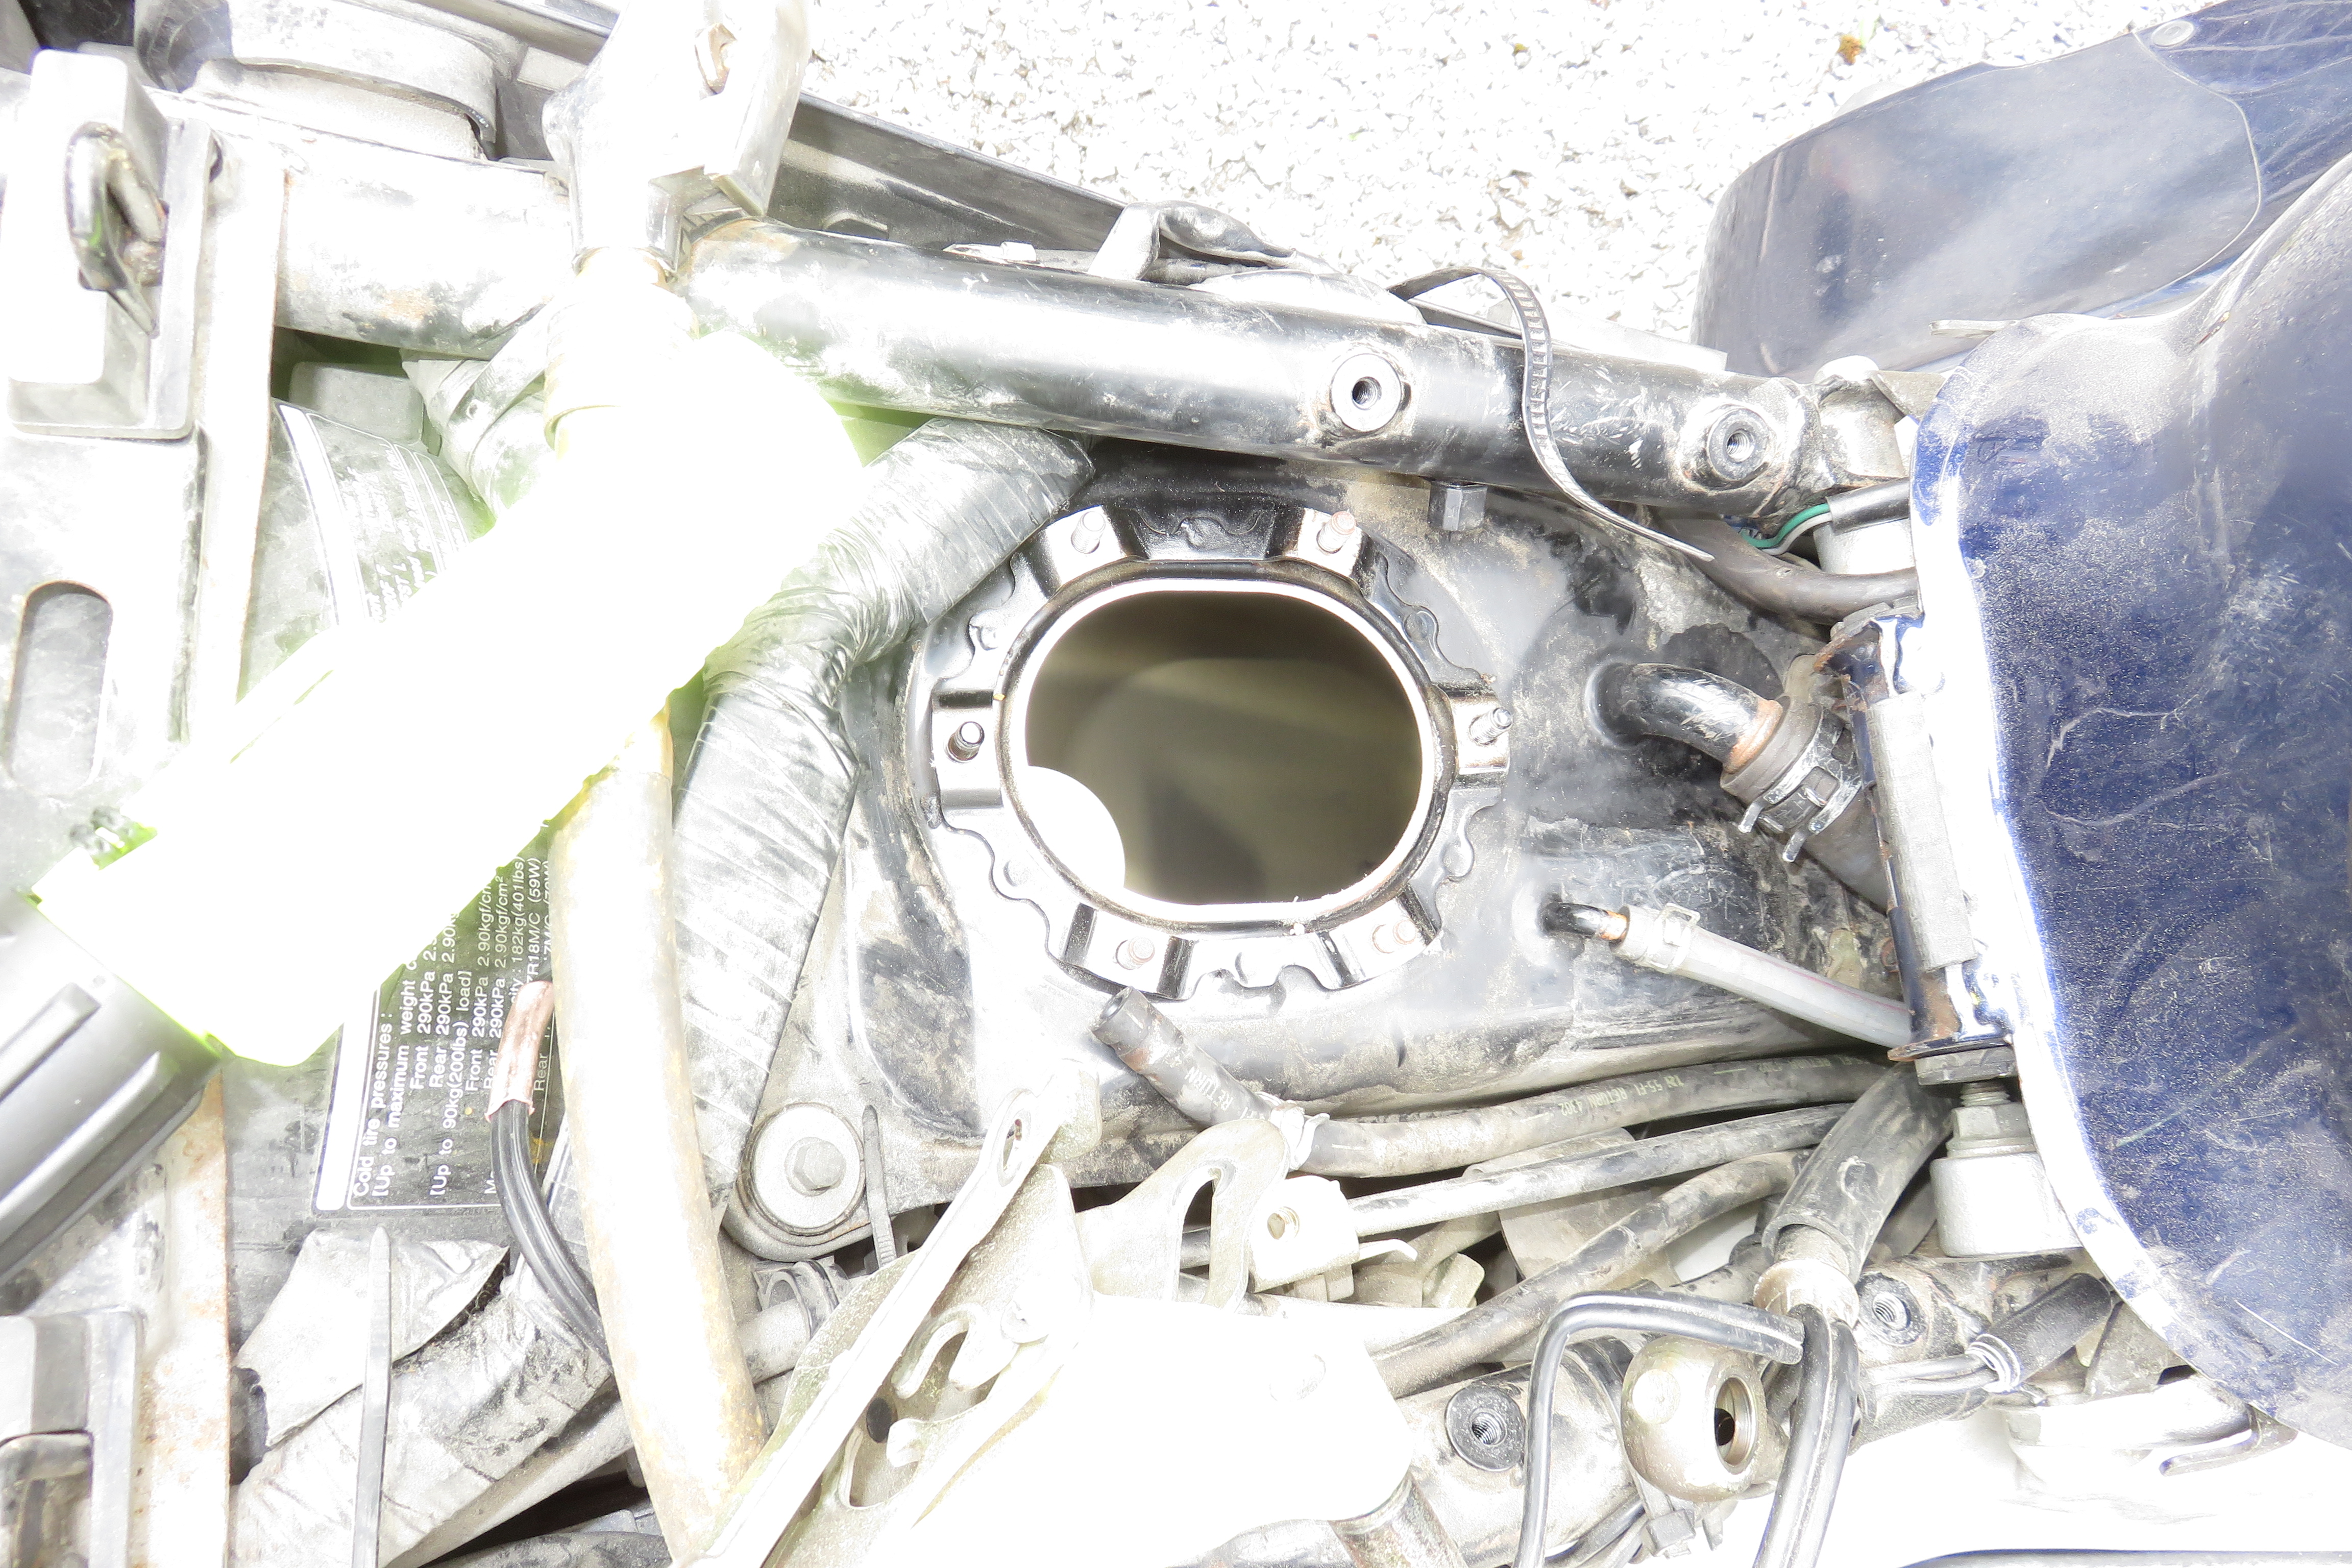
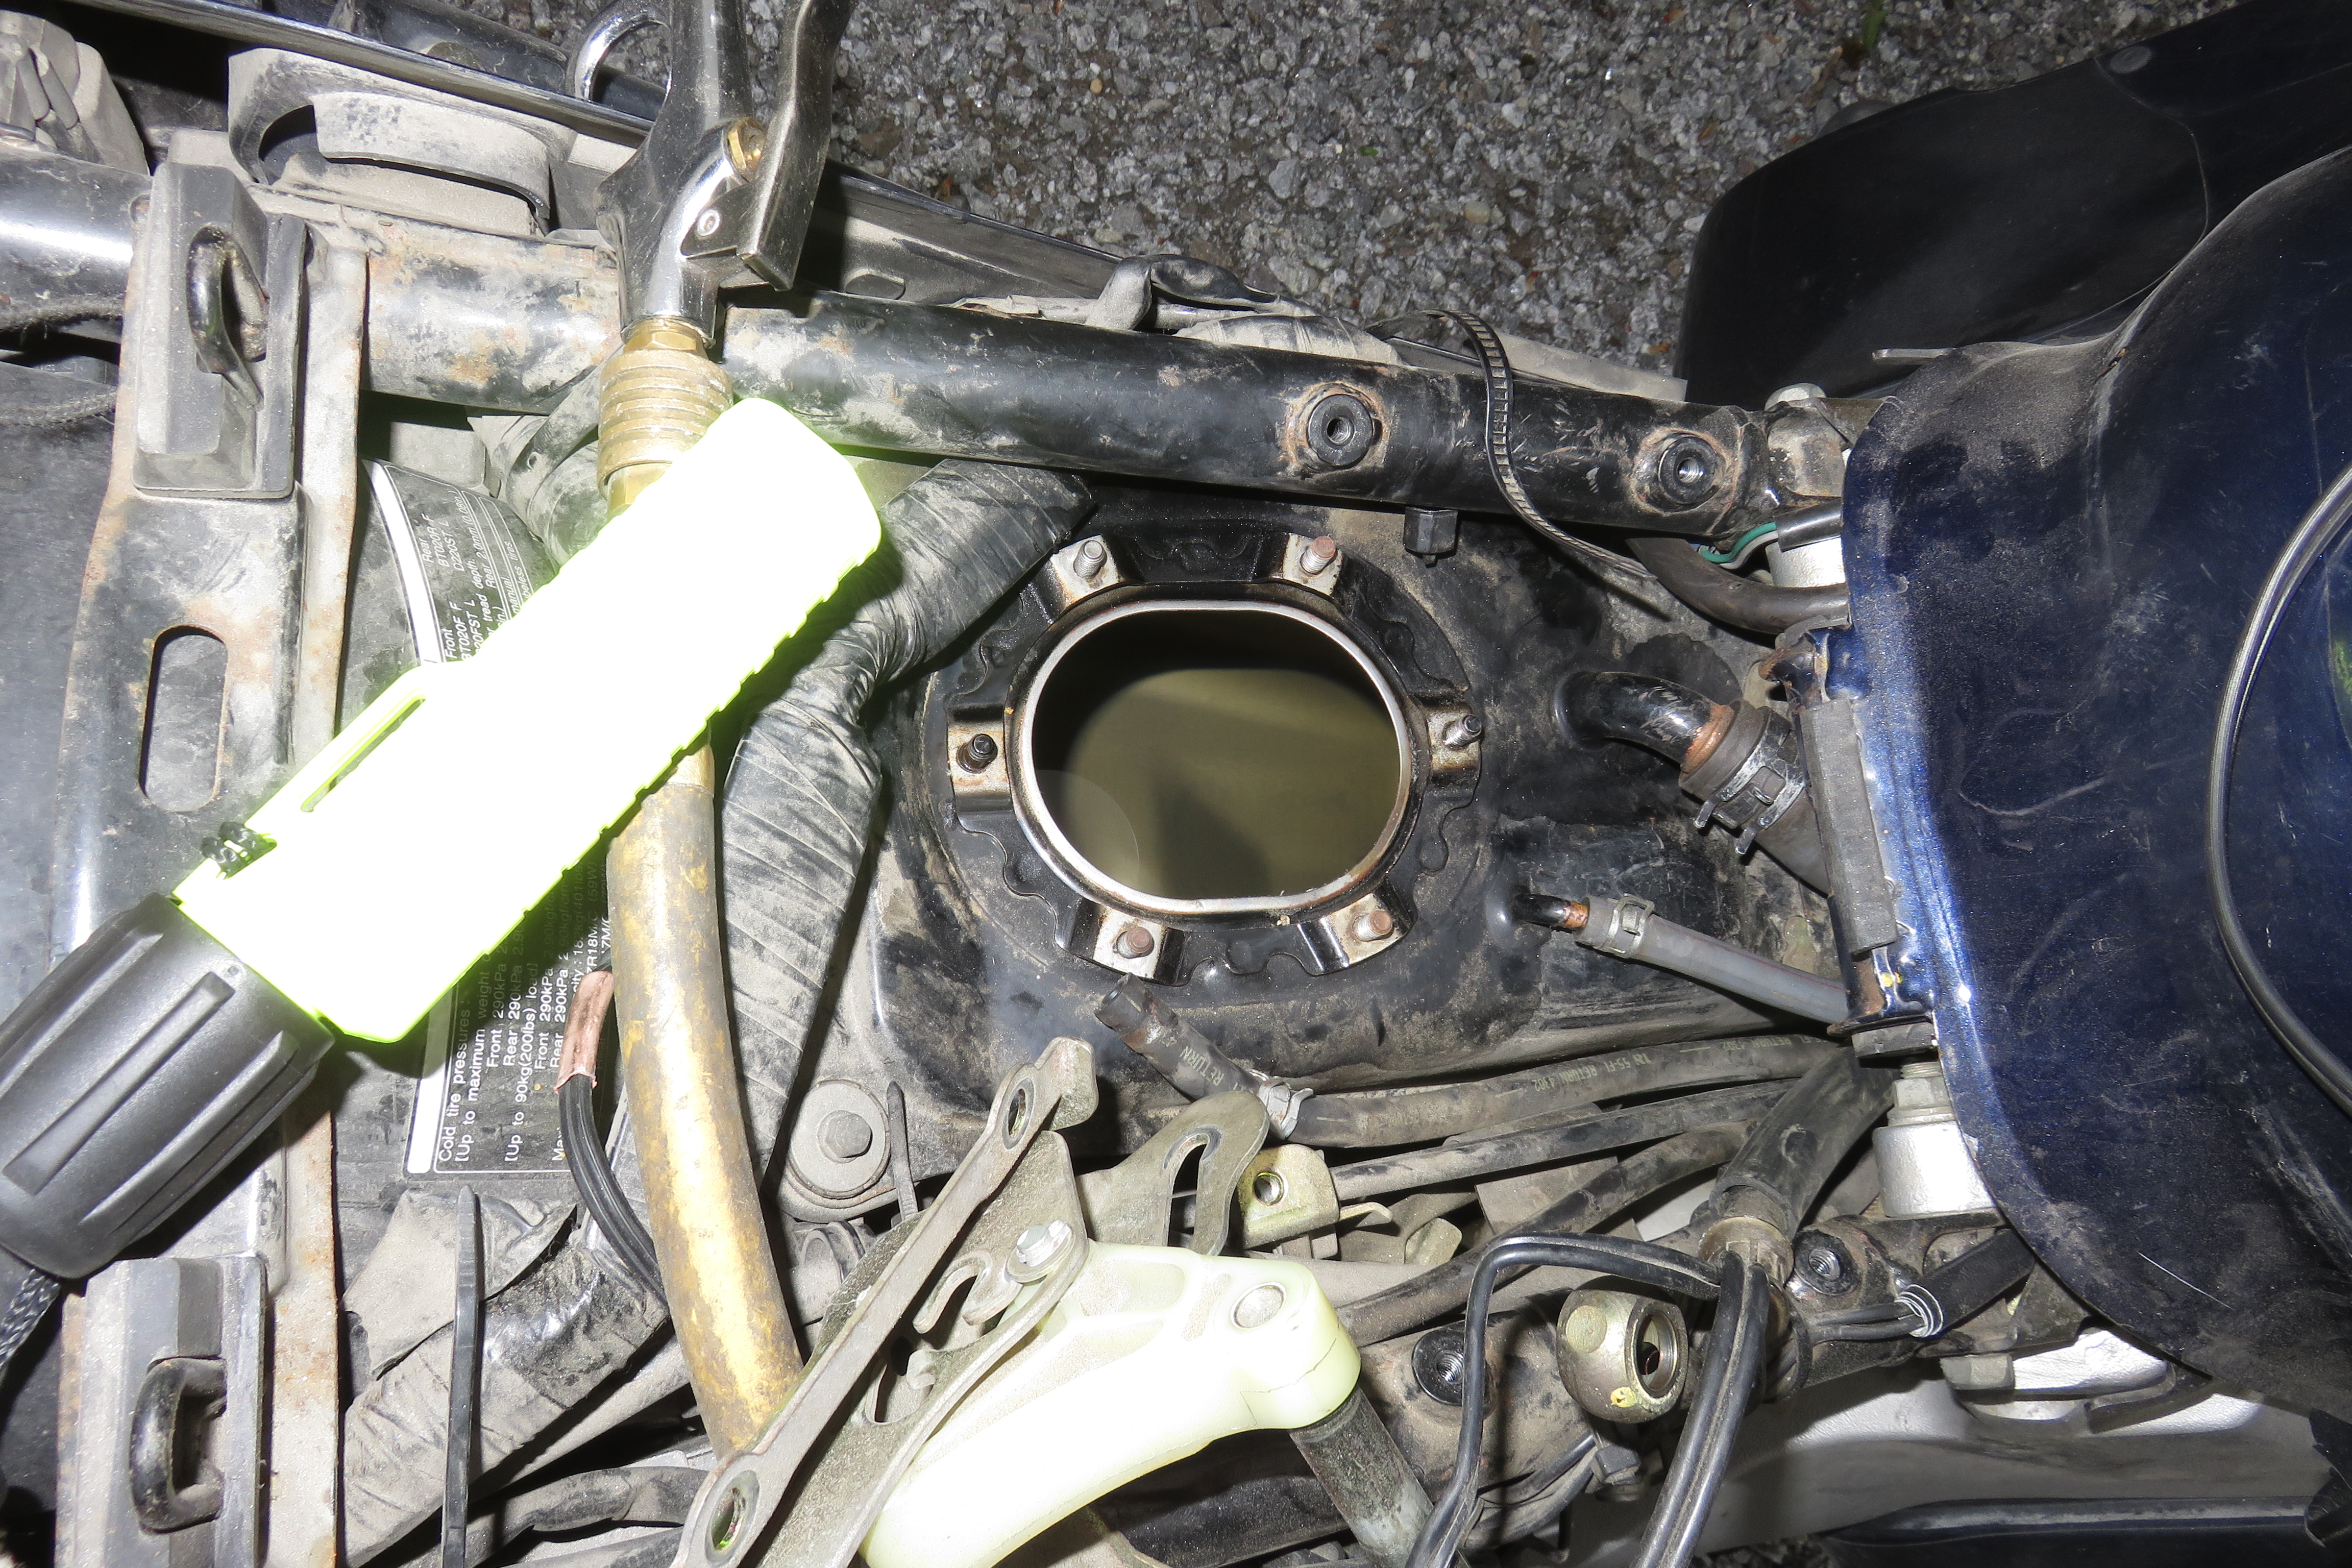
2-Drain the tank (there is a vent at the top of the lower tank that can be used) or drive until the fuel level is below the top of the lower tank.
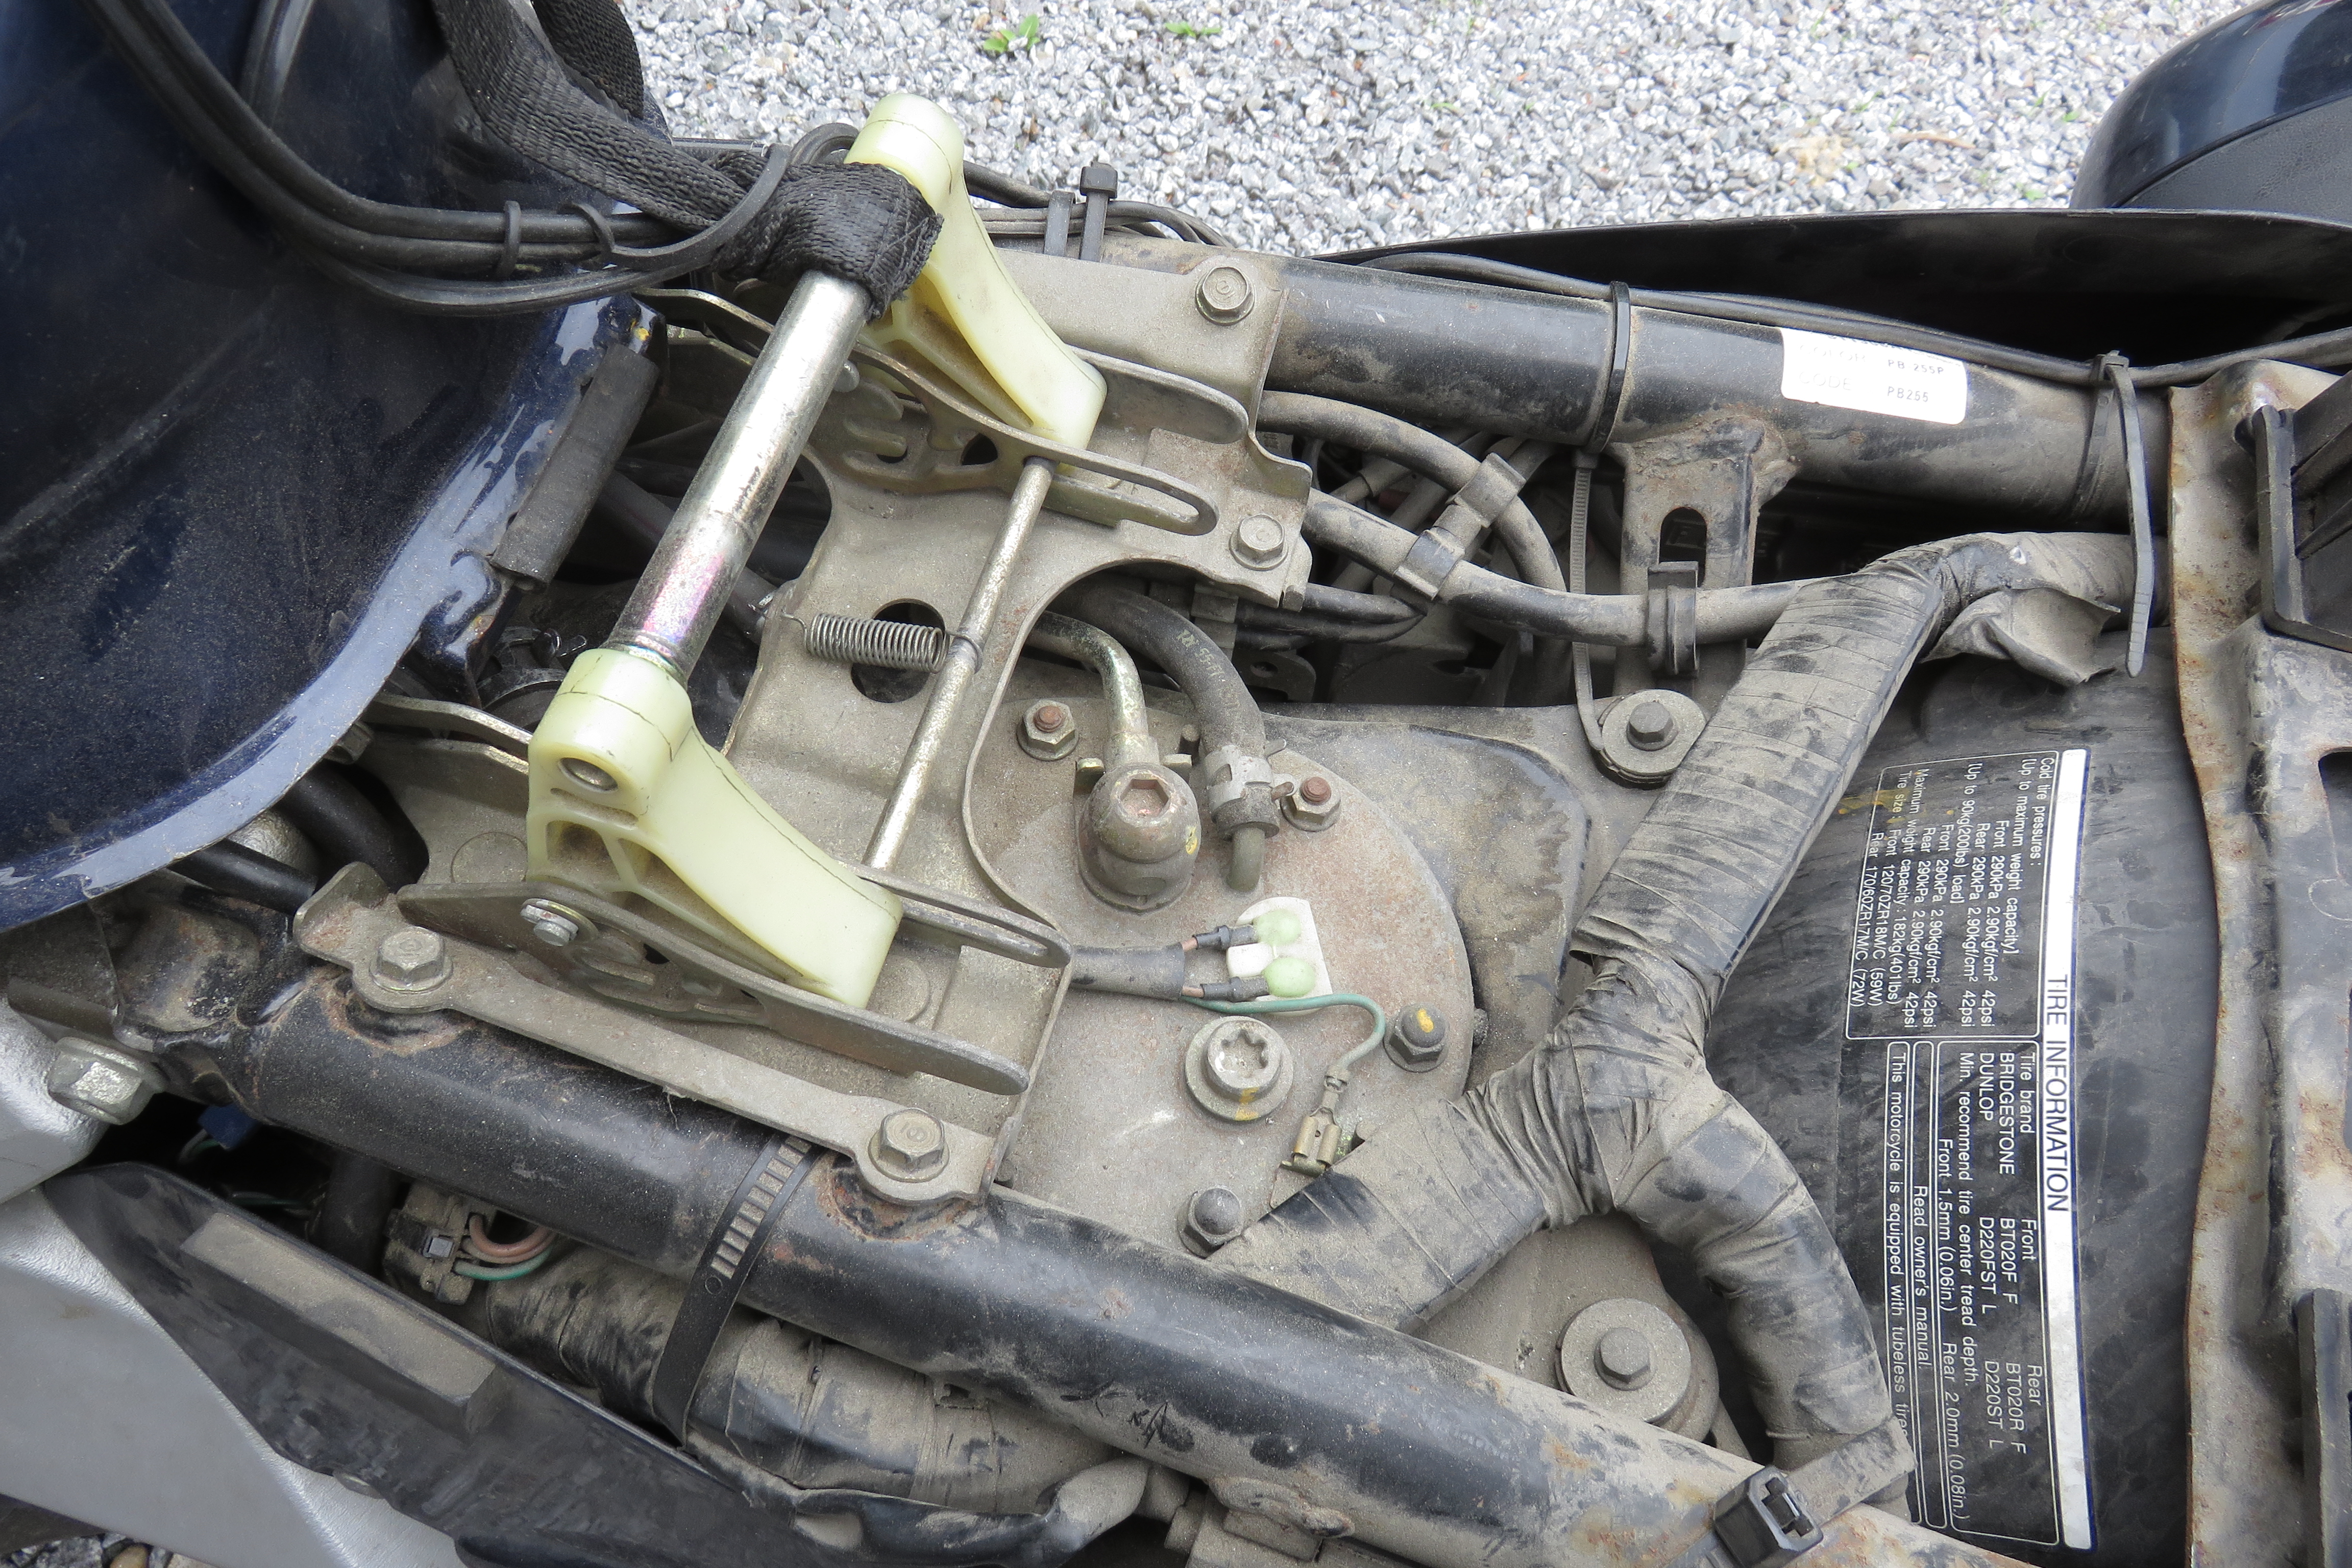
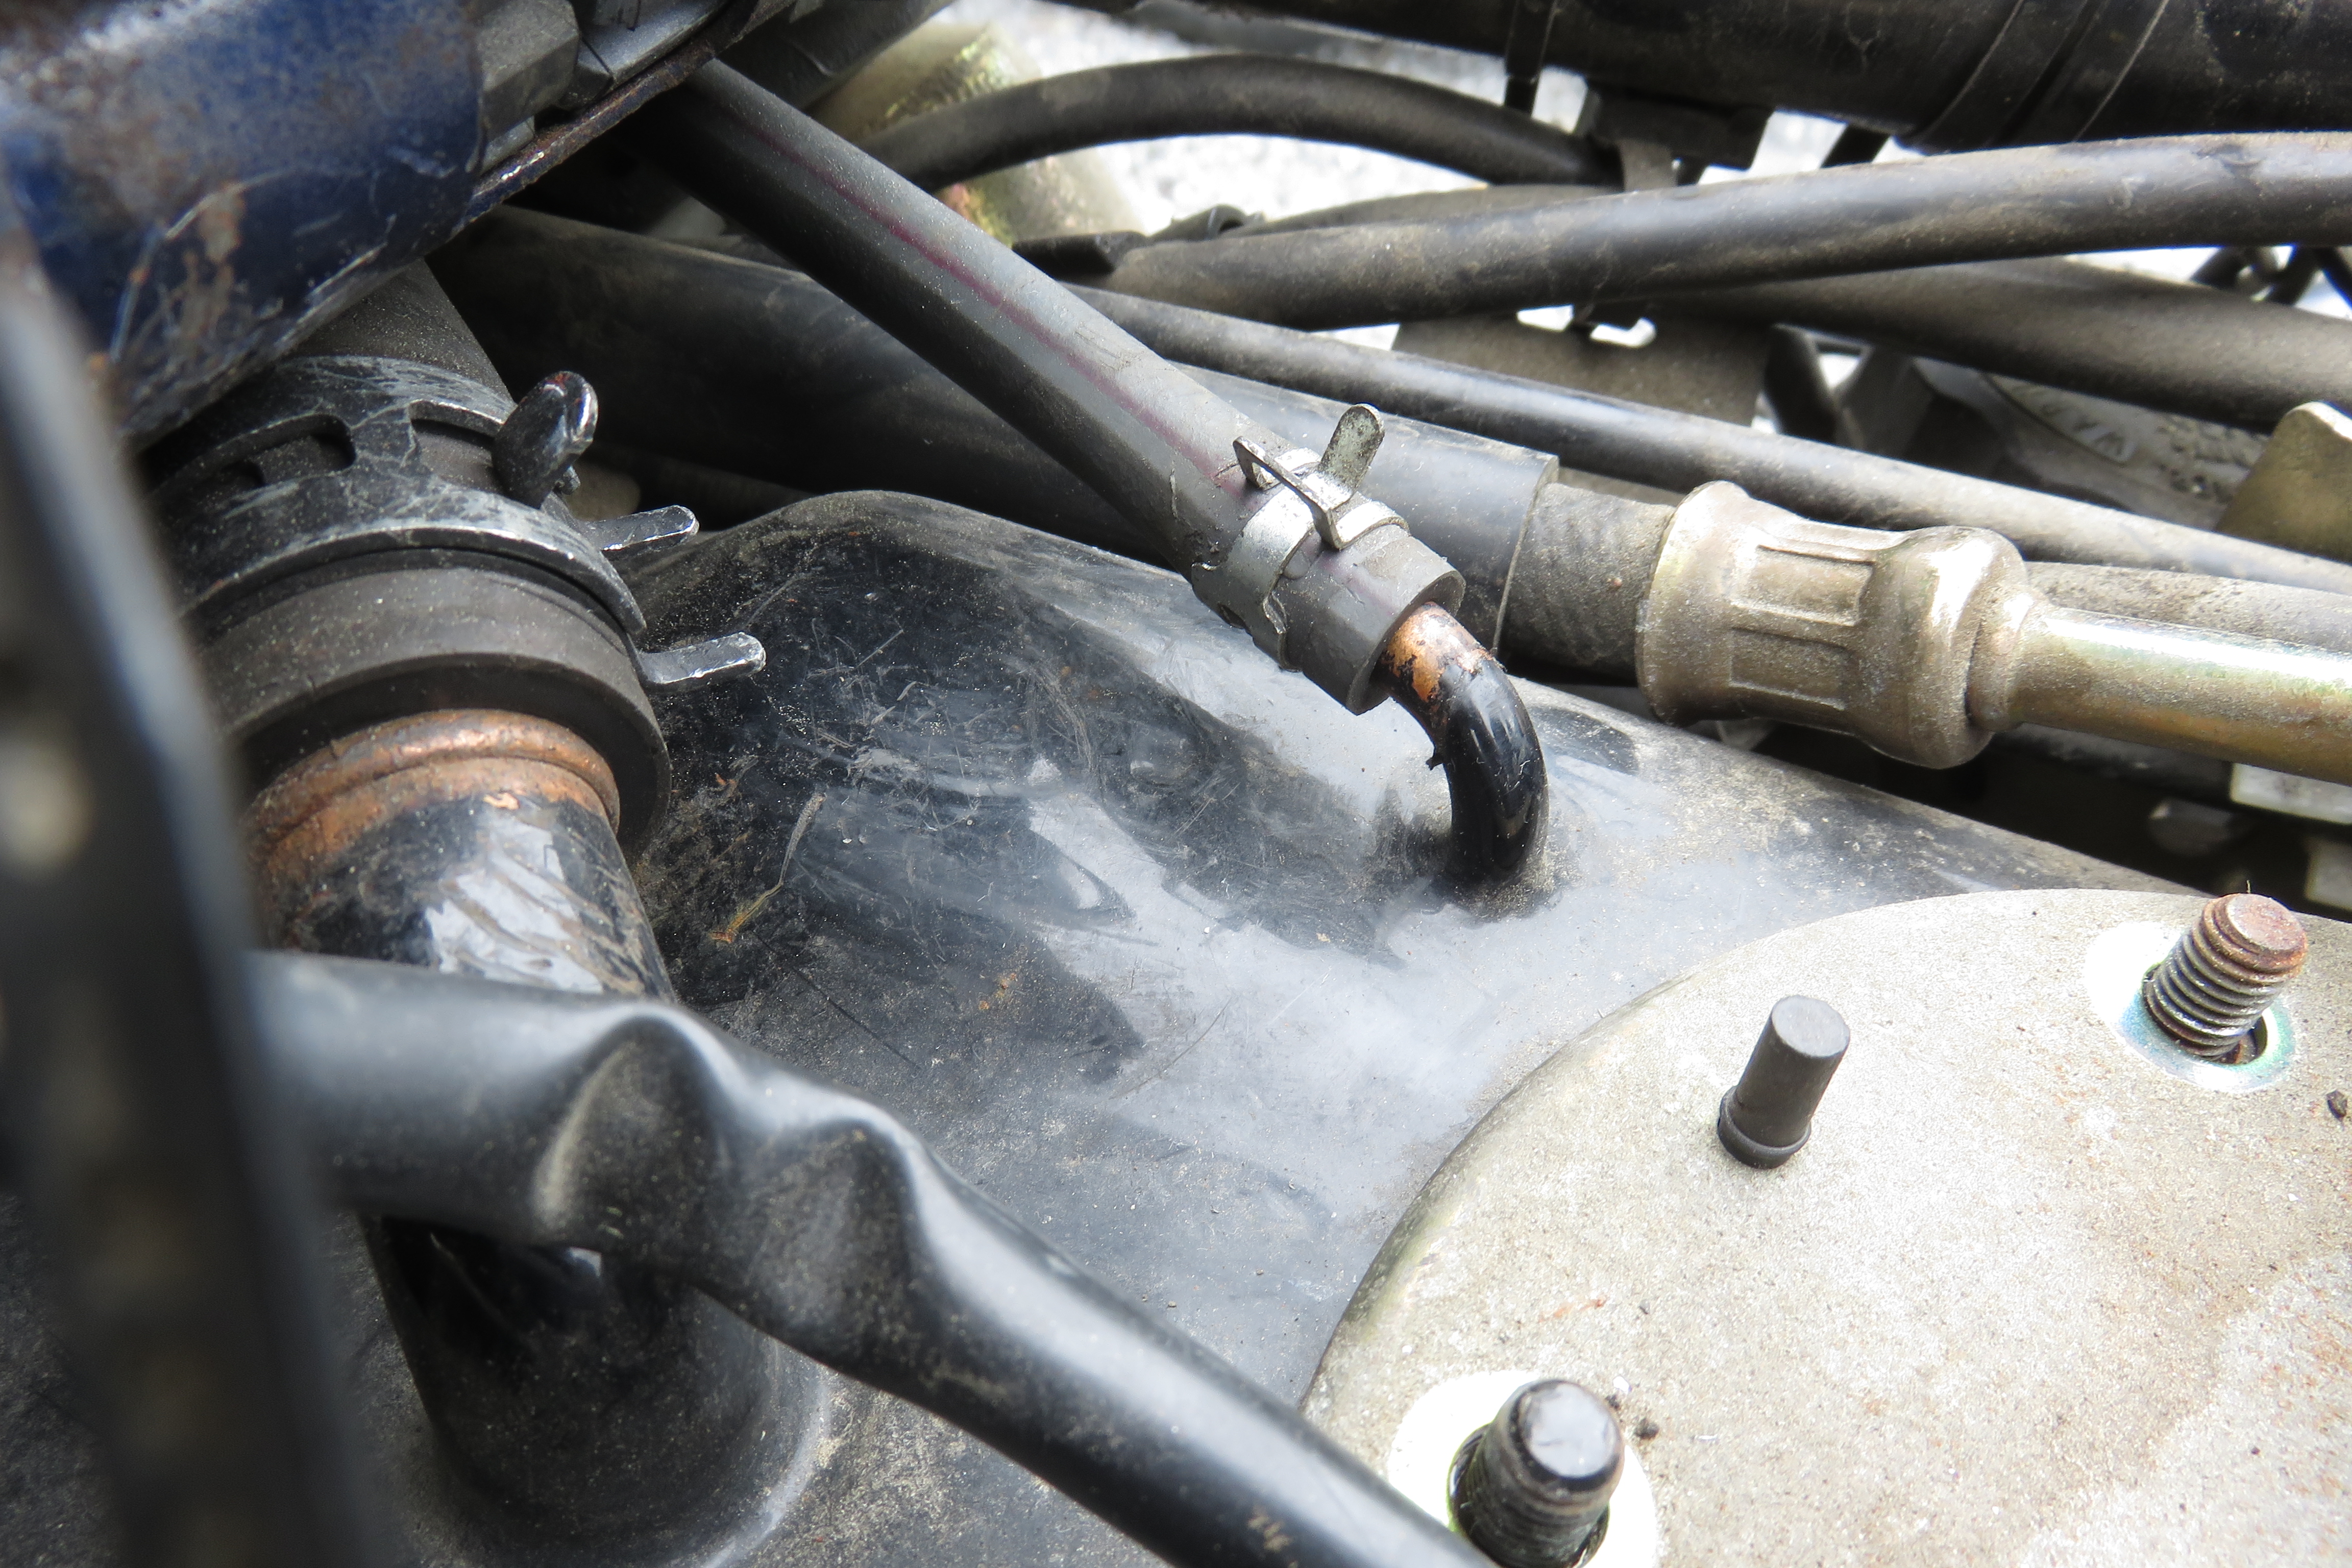
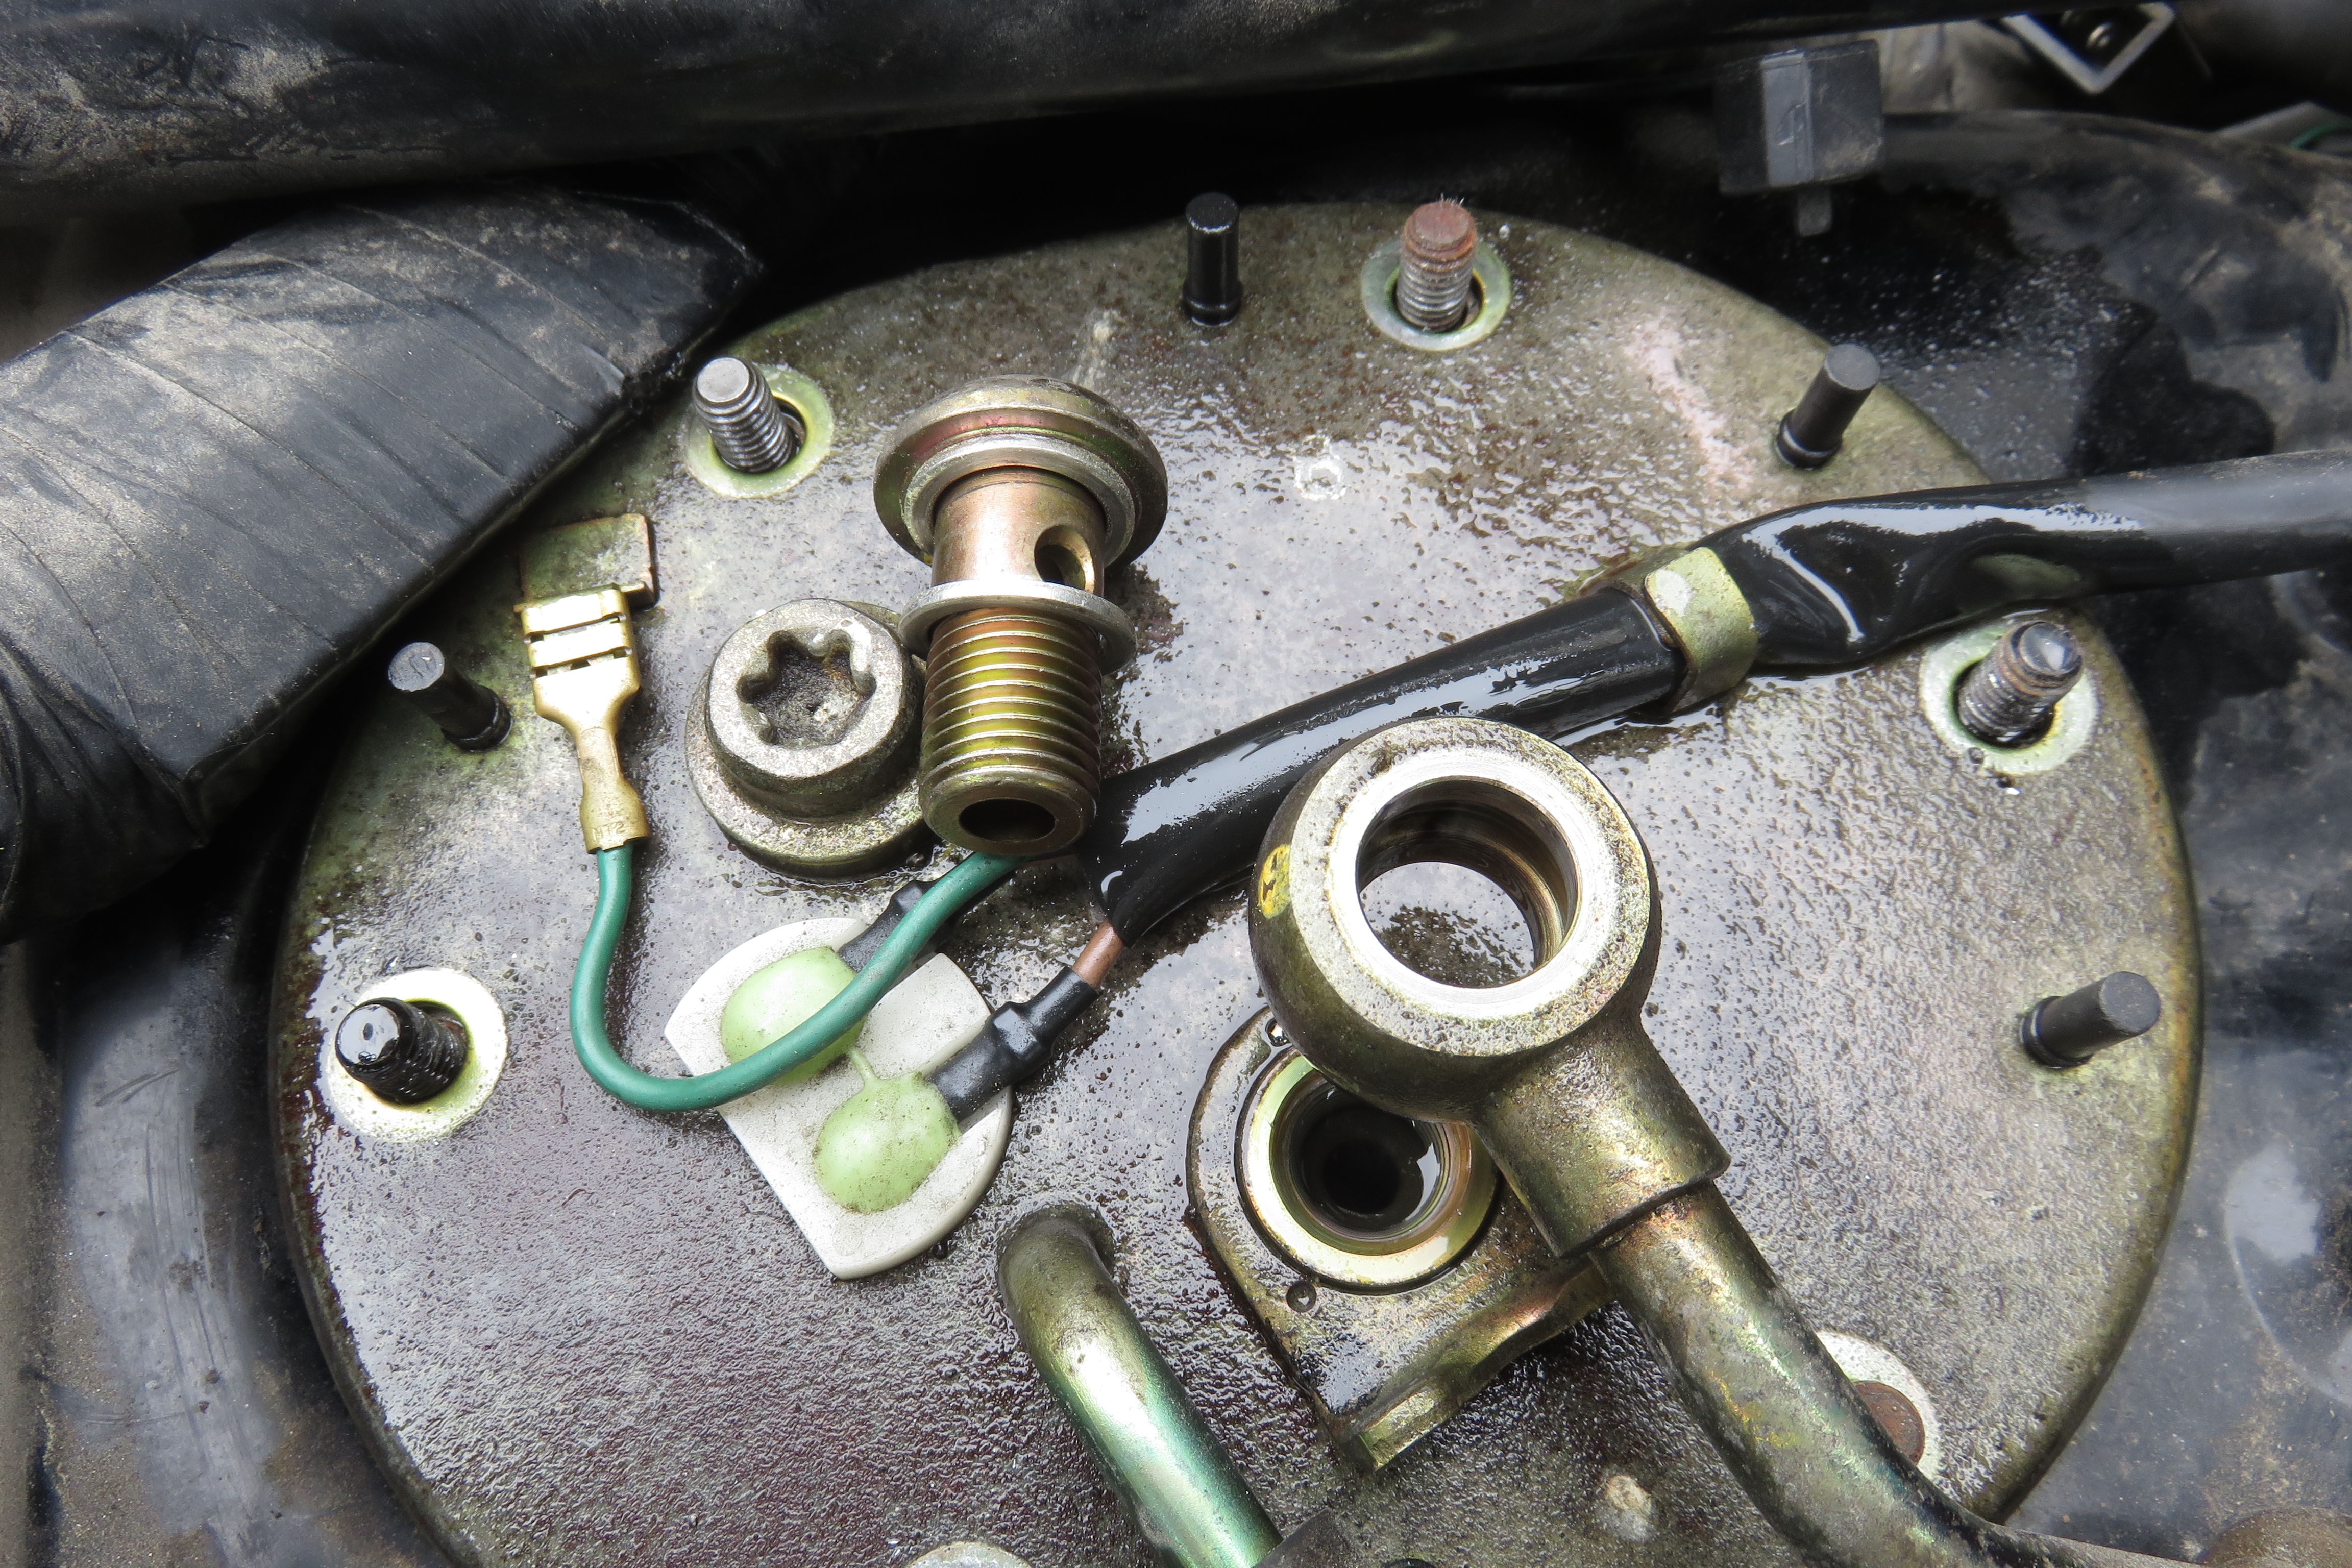
3-Disconnect: The electrical connector, the Fuel Line & hoses.
4-Remove assembly
5-Repeat in the reverse order. Simple, no?
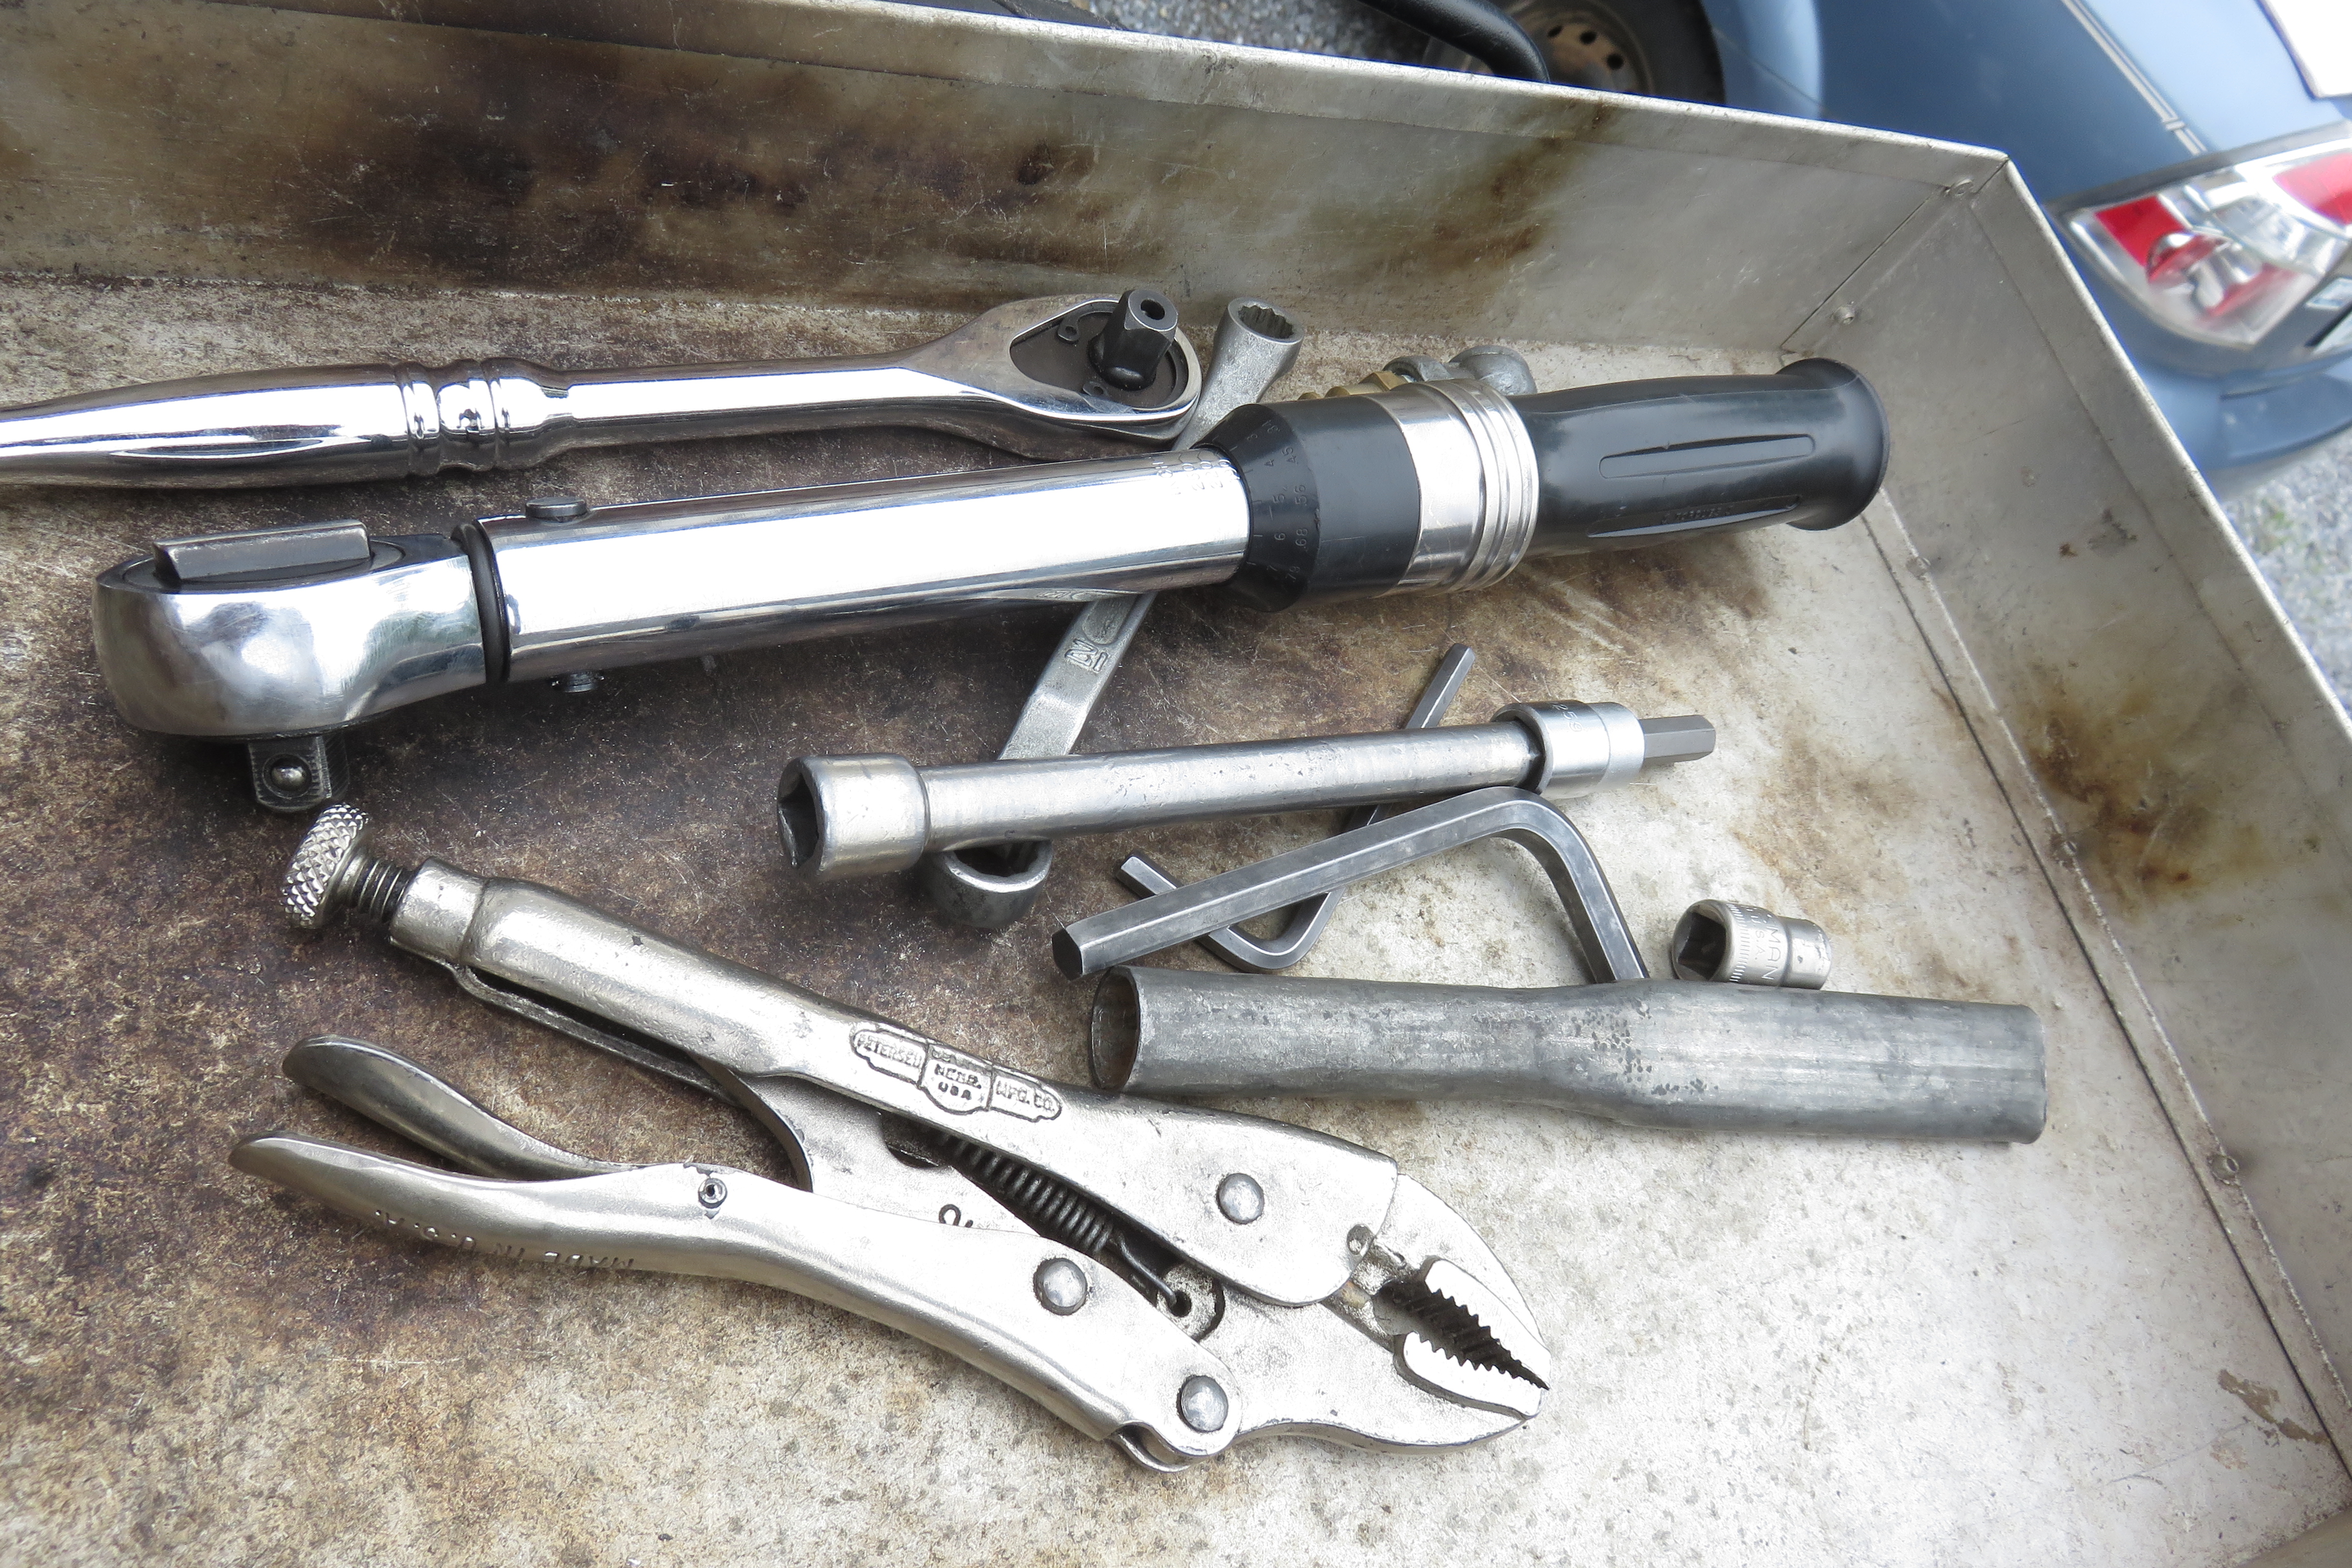
There are some details such as torques etc, but it took me less than an hour start to finish, and I was putzing around doing a few other things at the same time.
There was anecdotal evidence on the Mis-Information net that suggested that replacing the fuel pump increased your gas mileage. Well, I can add to that. It is true. My average had been getting down to 37 MPG indicated on the dash. The true mileage is normally between 2 and 2.5 mpg higher than that. After the change, on the first ride it was 47 MPG. Whether it will stay that way remains to be seen. The battery was disconnected to perform this service. I know that with my car, for about 100 miles after the battery has been disconnected it has a ton more power, very peppy. I suspect the computer is still figuring out how to tune the engine. Still, a 27% gain is big. I can't imagine the number will go all that much lower. I will update below after I get some miles on it.
Edit: The MPG went back to normal. I suspect the sudden increase was due to the battery being disconnected. Kinda makes me wonder if maybe I should put in a battery disconnect, and disconnect it every time I stop.
What follows are some photos of the swap.